Friday, June 12, 2020

Warm Toes and Tones; Radiant Heat and Luxury Vinyl Floors

If you tuned in last time you know we are working on our only full bath in the house. Sometimes you have to work with what ya got. That is the case regarding the size of our small bathroom. It can have it's bad points but there are good points too. I hate cleaning the bathroom but with such a small space it does take less time and it takes less material to change things up which is helping us watch our expenses as we go forward. That is a huge consideration as we had to sure up joists and replace the sub-flooring. But all that got done and we got to move onto the in-floor heating!

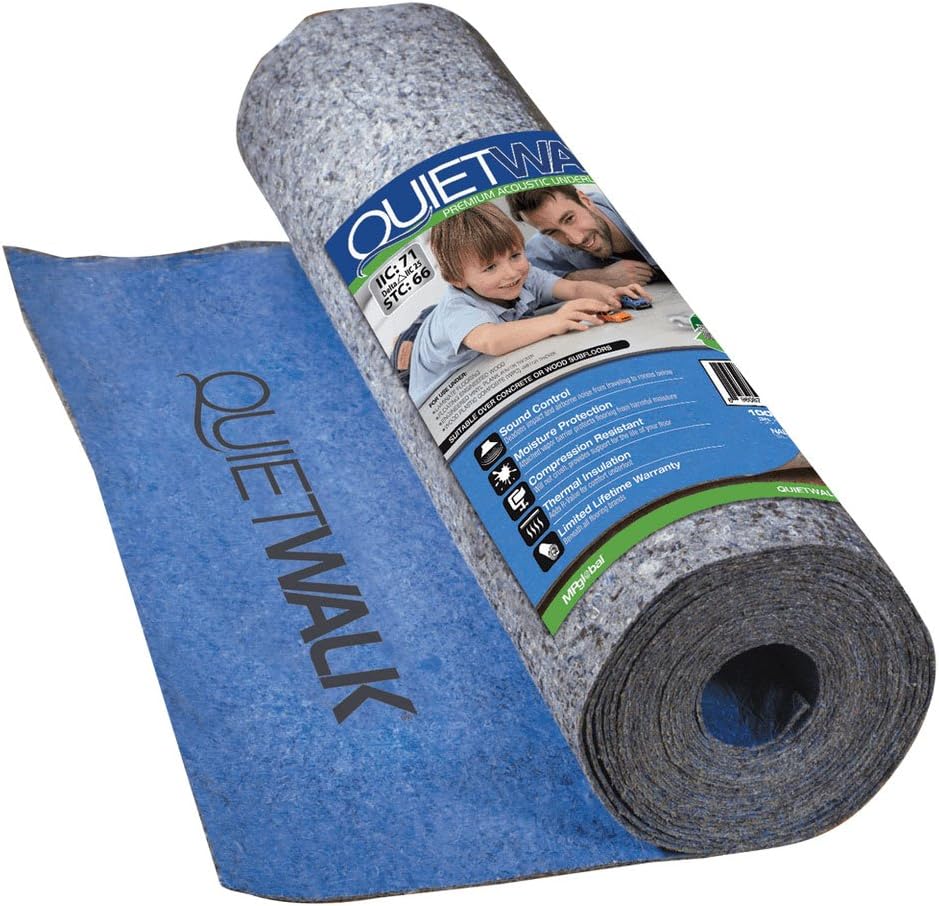
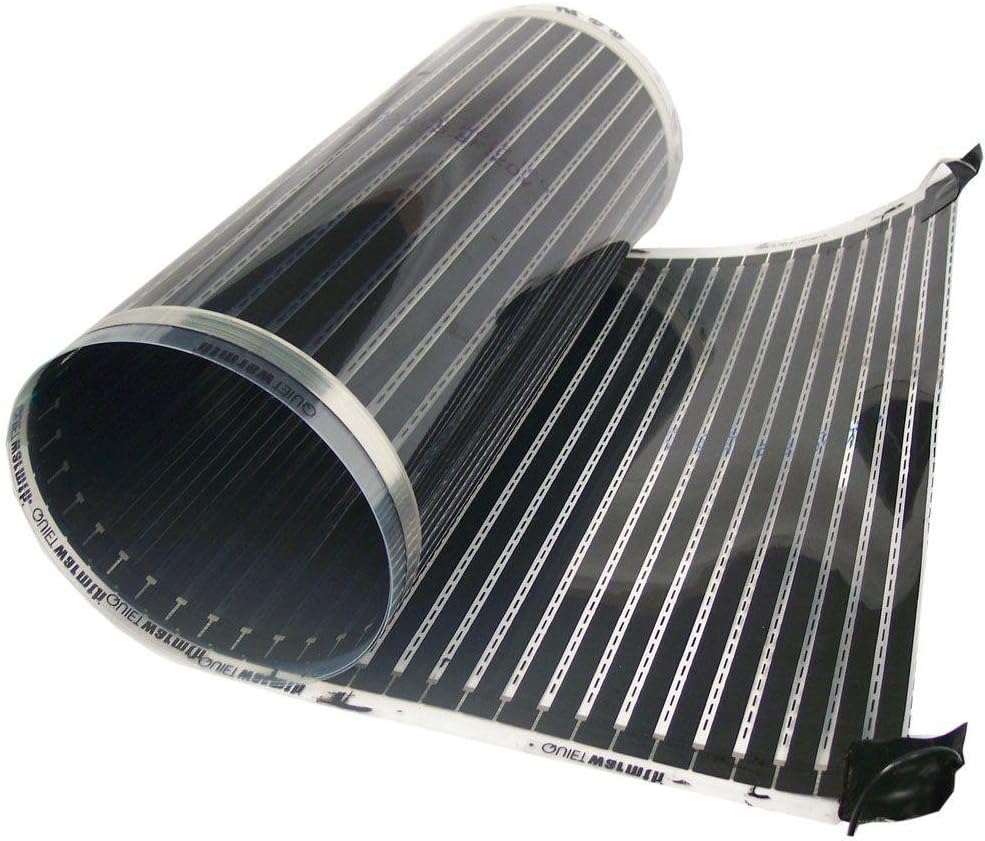
After some research we decided use to Quite Warmth heating mat products. Part of our decision was the easy to follow and thorough videos that gave a clear picture about installation. I found their products on Amazon and had them sent directly to my house; a plus during quarantine. (I've included links to Amazon under each photo.) If you are going to put in in-floor heating you will need underlayment, a heating mat, and a thermostat. Another reason we chose this product is because it is designed to use under luxury vinyl plank flooring which is what we are installing in the bathroom.

The first step is to measure how much matting you will need and order accordingly. There are guidelines concerning where the mat should be. It is not to sit under cabinetry. It is not to be installed too close to the toilet as the heat could effect the wax ring, melting it and causing your toilet to fail. (Bad!) I told you our bathroom was small. The actual size is 6'8" x 7'3". That includes the tub area. Total floor space is less than 35 square feet. With all the considerations we figured that we needed a mat that is only 3 feet by 3 feet.

Step 1) Clean the floor. Any debris will become a permanent reminder of your failure to prepare.

Step 2) Install the underlayment. This is literally a matter of rolling it out and if needed, taping seams. the product has a built in system to tape seams. How easy is that?


Step 3) Installing the mat. The mat we ordered is 3 feet wide and we cut the excess off, per the instructions, and installed. I'll not bore you with the details as the video is an excellent source. We're not having to do anymore than one run of the mat due the size of our space.


Step 4) Tape down the leads to the mat that will be attached to the thermostat. This will require you to cut small channels in the underlayment. (Refer back to video.) And tape everything down so it doesn't wiggle out of place. Anytime you get to use duct tape is a WIN for Mister! (I think it's a guy thing.)


QuietWarmth Programmable Push-Button Thermostat (Universal)

Step 4) Thermostat. Mister connected the wires to the new, totally programmable, thermostat that we installed on the wall where the waste chase is. This thing is amazing! It allows us to program the heating according to time intervals. For instance, we can set it to heat up to a nice and toasty temperature for when Mister gets up in the wee hours of the morning to get ready for work and then drop down until I take my shower a few hours later then back down again until the evening for other members who shower before bed. It's programmable for every day of the week so if your weekend schedules are different-no problem.

Once we were sure that was installed and working correctly we started the installation of the flooring. Again, a little research led us to a product available at Home Depot.


                                                                           (Source)

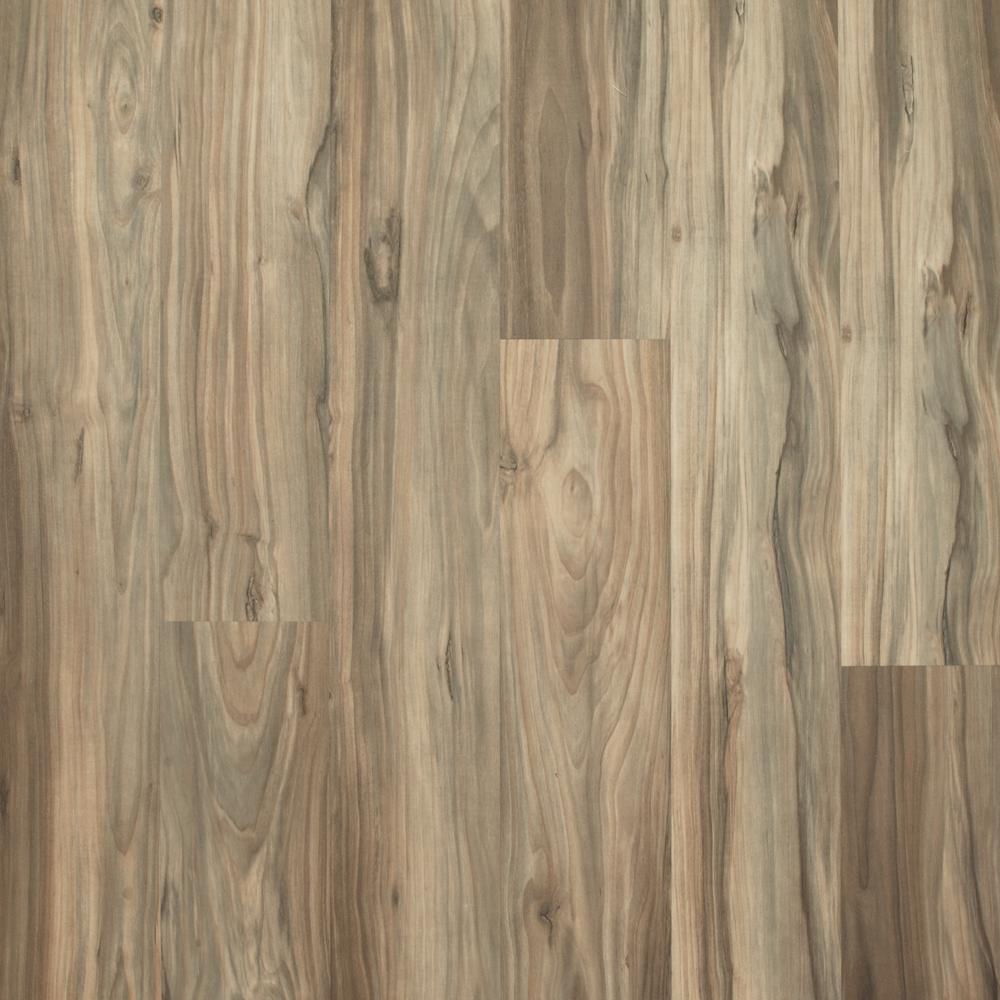
The flooring is called Lifeproof. It is waterproof and scratch resistant. Again, a video or two helped us to see the installation process. This stuff is waaaay easier than tile and real wood flooring and looks great. The flooring I chose is a wood look product. It is textured to resemble wood. You simply score the flooring and snap at the score to cut it. (This video shows how to cut the product.) Mister did have to use the table saw for a piece or two to rip them down on the width to fit our space.

A word on the installation. Pay attention to the placement. You don't want to easily see repeat patterns. If a piece has a "knot" make sure that the next time you see that same knot it is not in line with the last one and not too close to the last one. Also, stagger the seams. You don't want to see a line of seams. Some may chose to do a brick-like pattern and while this looks great with bricks a wood floor is usually not the place to have an "H" pattern.

Our project took 2 1/2 boxes of product. We had purchased 4 to be sure we had enough and to take into consideration any damaged product. That is a reality and you want to be prepared and not have to stop everything to run back to the store hoping they have more. There were 3 pieces that were damaged but we were able to cut those pieces and used them for ends. I have a plan for a little bit of the leftovers, too.


And, voila. Flooring! I am over the moon with the colors and the feel, and the heat! The warm tones mixed nicely with a little of the cool grays but the warm toes are the real treat.  The edges will be covered with baseboard and colored caulking.

Okay, now some of the practical but pretty things start happening! And, true to fashion I made a drawing to keep myself focused. Stayed tuned to see how close I can come to this!


Linking to these parties: 

Wednesday, June 3, 2020

Heating Things Up

Disclaimer: This is not a post about warmer weather.

Our house is officially 200 years old this year! In houses this old there were no grand master bathrooms in the floor plan. They weren't built with beautiful walk-in showers. Instead, there are slanted roofs and tight floor plans, weird bump outs that hide vent stacks and waste lines, wonky wiring and water lines that were retro fitted to bring bathrooms indoors at some point. And they are probably all in desperate need of upgrading... unless you're lucky and the people that owned it before you bought it did all that for you. Well, we are those people.

In 2005 we tackled the only full bath in the house with a very limited budget. I found some tile I loved (and still do) and Mister put it down on the floor and put a row of accent tile in the shower for me.


There is a radiator in the room that takes up precious floor space- 12"x 22".


Originally, a door swung into the room hitting the shower wall. Mister made a pocket door for me using the existing door.


Mister also had built and installed some shelves on the wall to make up for the lack of storage but they always look messy.


Yes, that is a window that is 1/2 in the shower and 1/2 out! Who does that? 


And for the past 15 years it has sufficed.

Much more time at home lately has had us thinking about all the things we could be doing. I have wanted to put radiant heat in that bathroom for a l-o-o-ong time. There are 3 reasons for this: 1) that 12 inches I mentioned before and 2) a real vanity with storage vs. the pedestal sink would be so nice and 3)the radiator was the last one in the house to ever heat up-making it basically useless. Don't get me wrong, I loved that pedestal sink when we put it in years ago and I still do but I need storage!

Mister's initial and usual reaction to any of my ideas is "it won't work, we can't do that". Hmm. So, I let it sit for a little. But, true to form, it came up again. Now he has had a little time to get used to the idea and what that means as far as learning something new. We've never installed radiant heating so some internet research and some videos helped to explain how it all works. Mister said "I need to make a small hole in the floor to see what we are dealing with. The old radiator will have to be removed and the line will have to be capped." Me, I am okay with that. (I think it's because it's not me doing the dirty work.)

Off he went. 5 minutes later he came back with a hammer, jigsaw, and a flat bar. I knew it was about to get real. There is no such thing as a small hole with this guy. Upstairs he went. I stayed downstairs trying to occupy my mind with the pretty things that will fill the space after all the ugly happens. But for now, ugly is my new reality. 15 minutes later Mister informed me that he never said "little hole".😳😲


(The toilet waste pipe. If you're to attempt this, block that bad boy off! The gases are noxious.)


3 layers of flooring removed revealed joists that had been cut up to put in supply lines. All those had to be sistered up. That means putting uncut wood next to the original piece and screwing it in to restore integrity.

Long story short, it took a larger "hole" to figure out how all this old house was rigged but since it is our only full bath in the house we're trying to have product on site to make it still usable during all this. In the present state of our country that may prove more challenging than usual.

We were able to pull the radiator and supply pipe, clean up the joists, level out the floor better and put down new plywood as the underlayment.


Much better! 

My lesson in this has been that sometimes when Mister says it can't be done it means that he isn't confident that he can do it. That is where my inner high-school cheerleader needs to come out to encourage him. Worst case scenario... well, who knows but right now I just need to find my pom-poms. This is gonna be great!

Stay tuned.

Linking up to these blog parties:
Katherine's Corner, The Pin Junkie, Shabby Art Boutique, Dabbling and Decorating