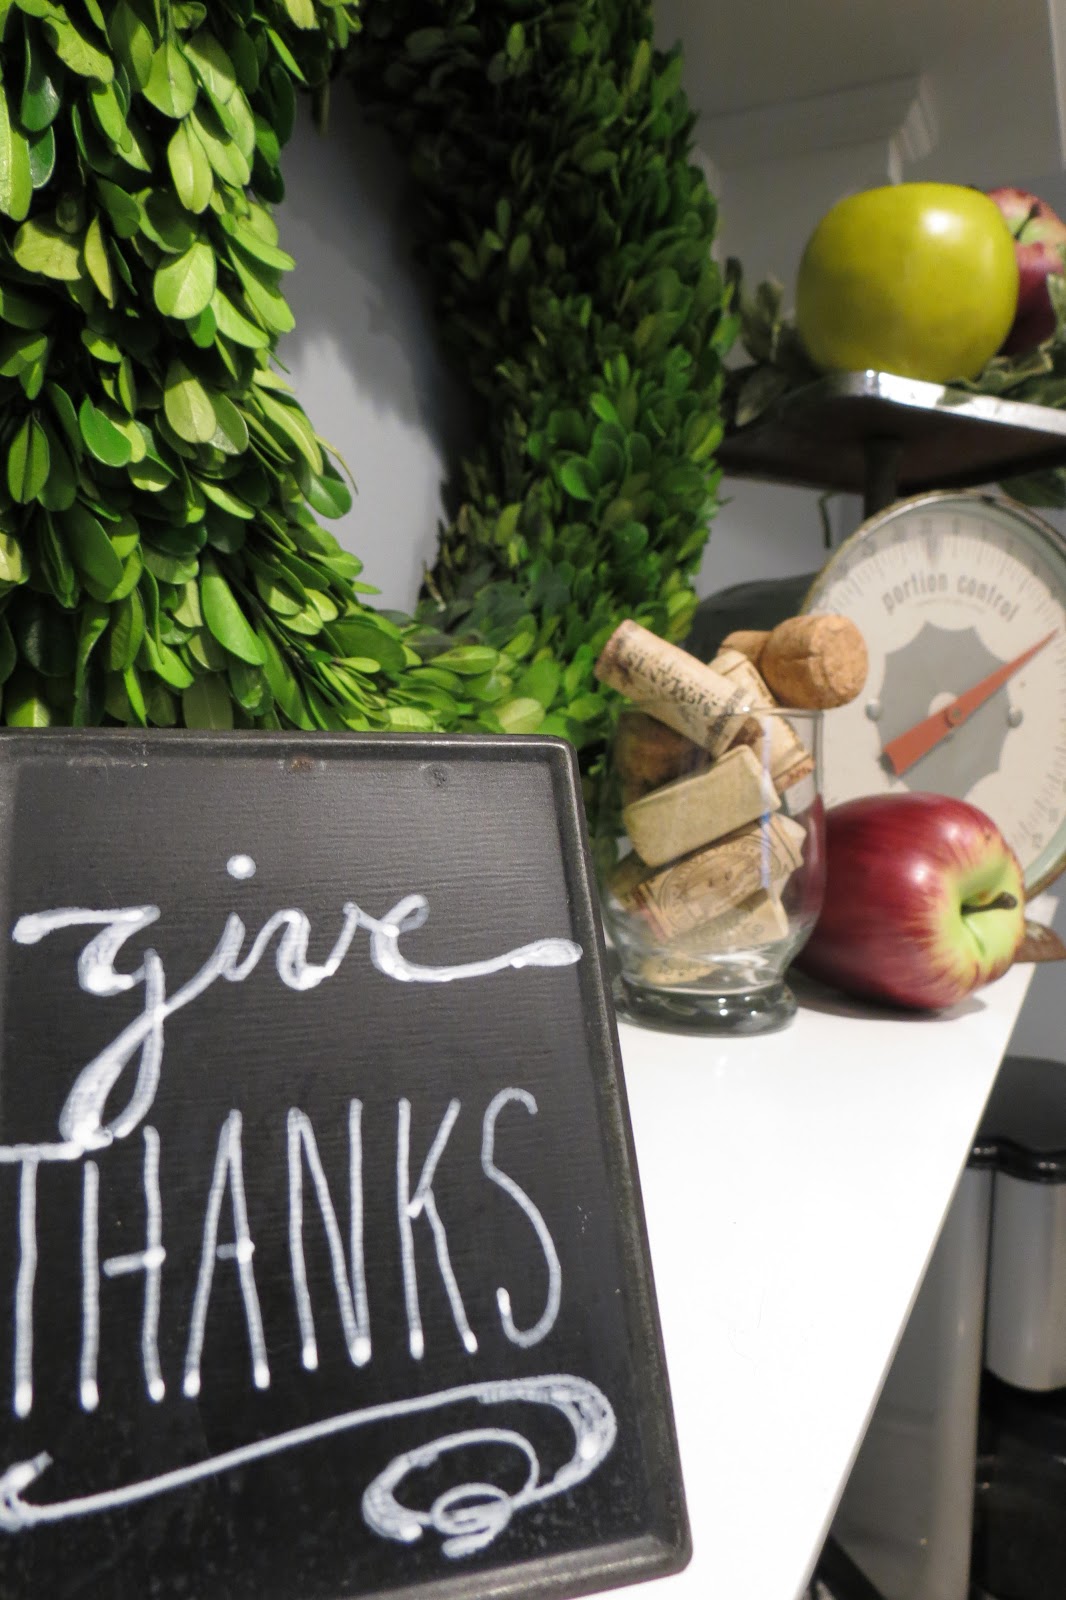
Wednesday, October 12, 2016

Fall Home: In The Kitchen and Dining Room 2016

I have embraced the cooler weather, pulled out my sweaters and boots, and even went to a farm or two. I aspire to someday have a bigger blog audience like the bloggers I follow but it comes with a price. I watch their blogs and boy-oh-boy they are ahead of the game- by miles. I don't know if my family would like me taking all the summer stuff away and putting up pumpkins in August but I guess ya do what ya have to. As for me... i am last minute Lucy! I'm lucky if I get my stuff up before Thanksgiving or at least get it shared with you by then. So, before it starts snowing, here is what I did for the fall season.

In the kitchen:


Shop your produce aisle for inexpensive accessories! I love the color of these green Granny Smith apples.


I love my yummy soy candle from Old Sterling Candle Company. I picked it up at a recent trip to Clinton, MA. 


Easy-peasy topiaries made by shopping the produce department. Buy an artichoke (less than $2) and put it in a cup. Done!


Fresh greens (or autumn hues) cut from the yard. 
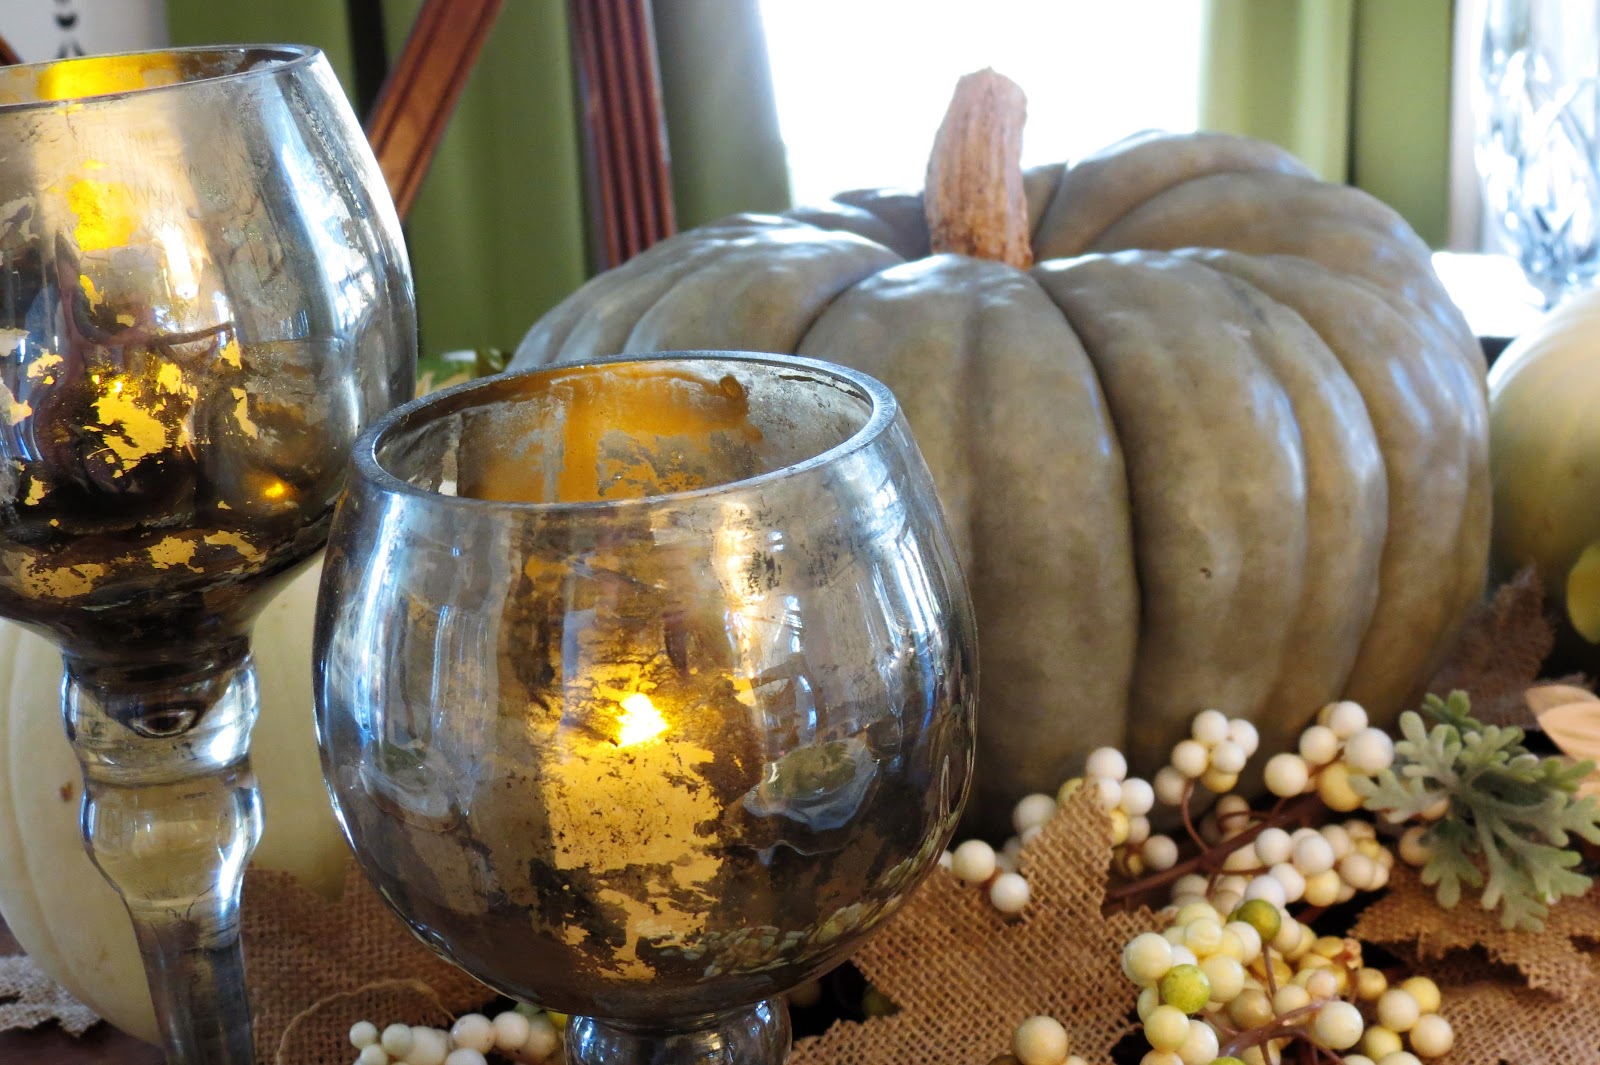


In the dining room:


Remember the hydrangea and daisy bunches I picked up to make my wreath? I used some of them in the dining room .


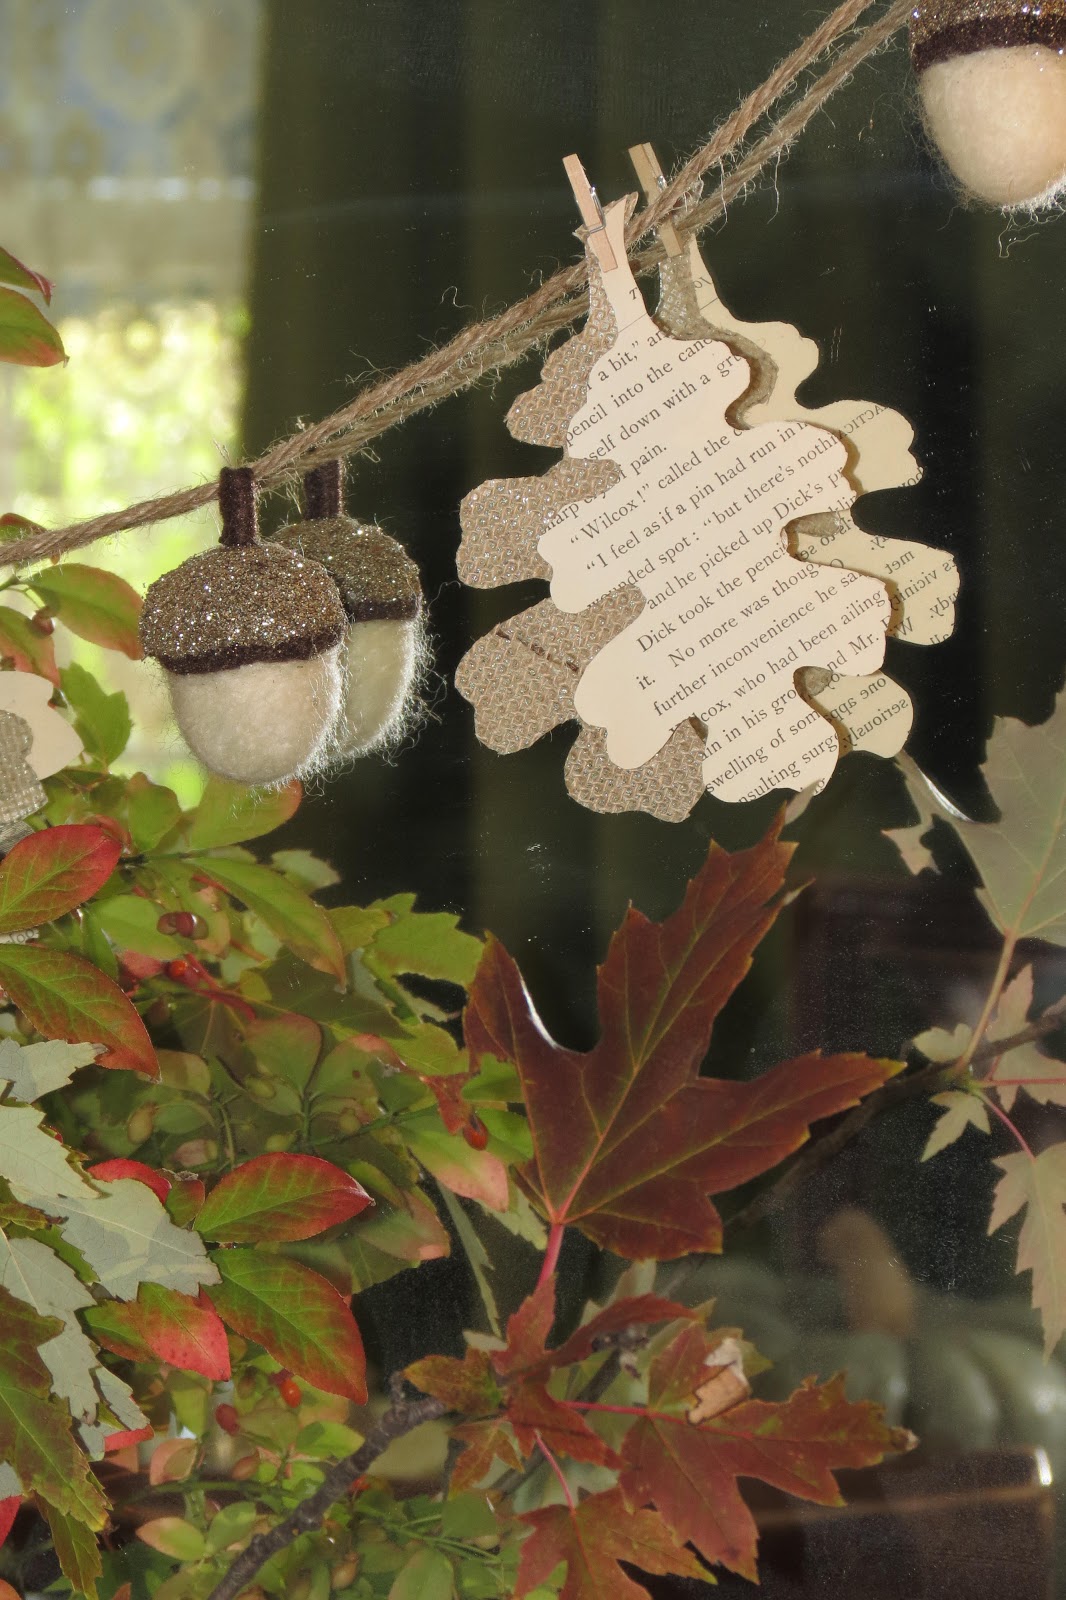
More uses for my cute little acorns I used to make my wreath. I sewed them onto a piece of twine, cut leaves from an old book using this template from Country Design Style. I also cut burlap leaves using a piece of scrap booking burlap from the craft store.


Now, in case you have the wrong idea, nothing is ever as pretty as it seems. This is what the dining room looked liked when I started taking pictures.


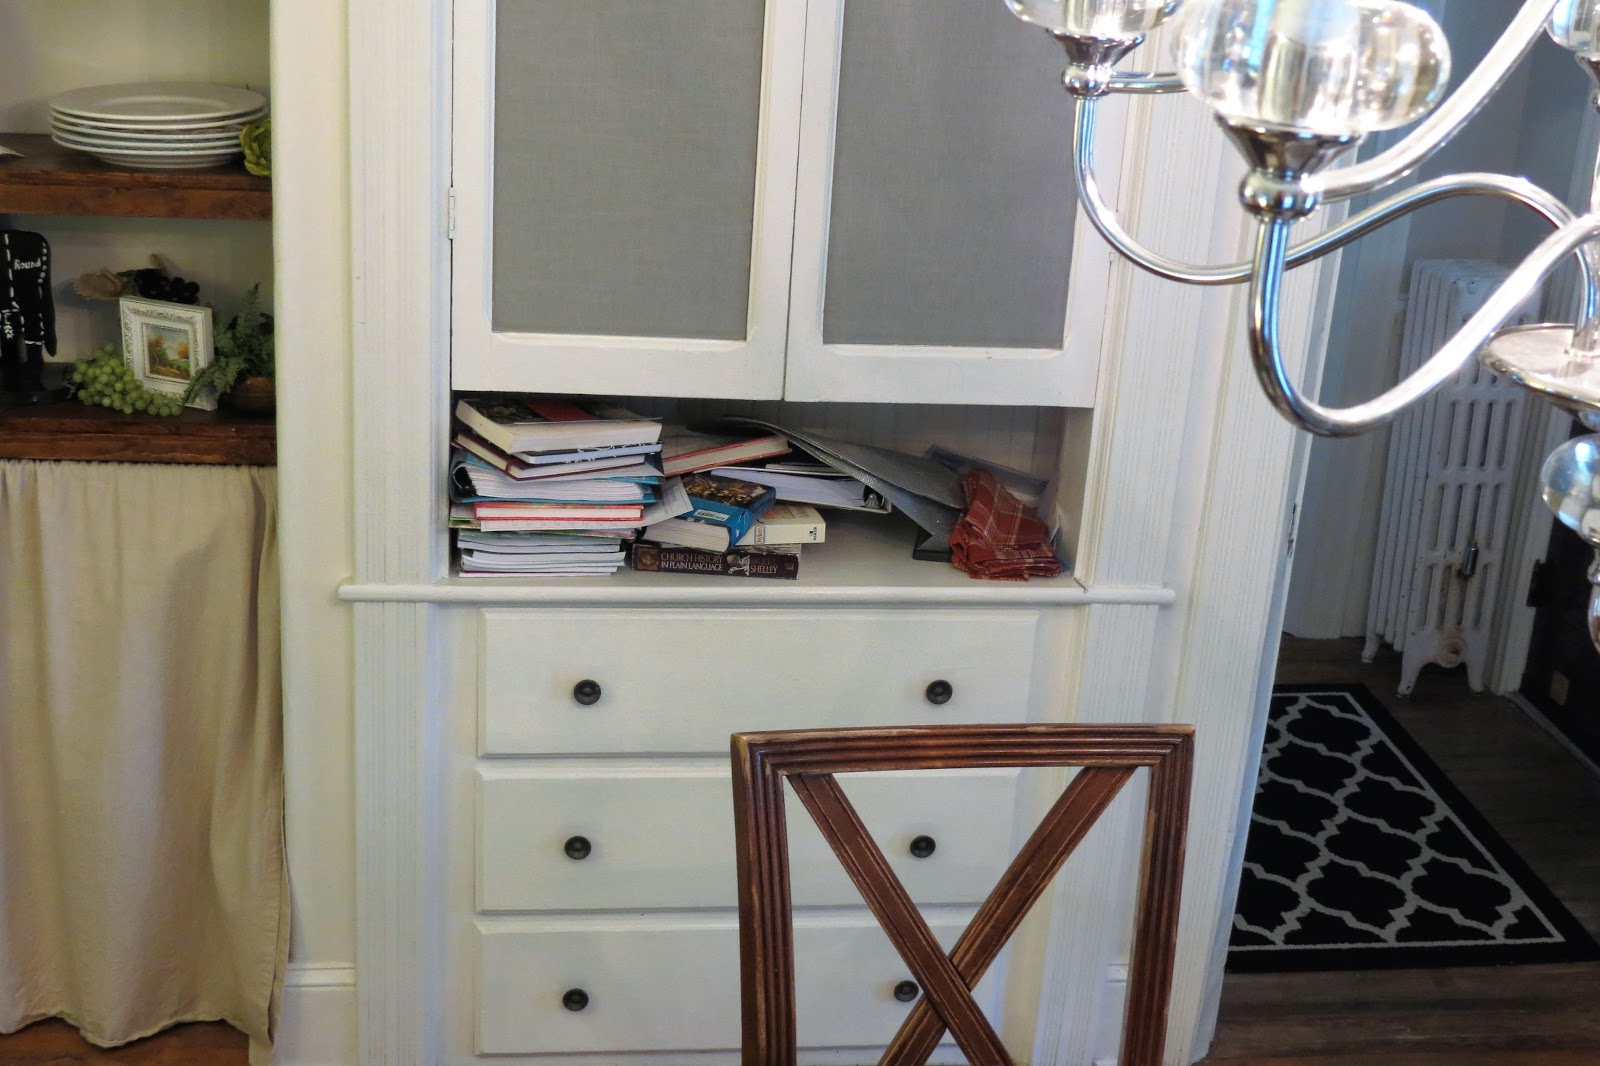
Yup, homeschooling means lots of books and sometimes messes. But I don't want to leave you with that image so here ya go, look at something pretty-it works for me.


I will share the living room and front porch next week...and, of course, you're invited!

See more beautiful ideas for dining rooms at Top Reveal.

Party Time!
The Vintage Nest, A Cup of Mrs.Olson, A Delightsome Life, Shoestring Elegance, Imparting Grace, Katherine's Corner, Joyful Homemaking, Up To Date Interiors, The Charm of Home, Charm Bracelet Diva, Shabby Art Boutique, French Country Cottage, McCall Manor, The DIY Village, Olives-n-Okra, Life With Lorelai, Chic On A Shoestring, The Cottage Market, DIY Vintage chic, I Heart Naptime, Blooming Homestead, Pieced Pastimes, One More Time Events, Finding Silver Pennies, Nifty Thrifty Things, Create With Joy, The Boondocks Blog, DIY Showoff, DIY 180 Site, Dwellings-The Heart of Your Home, I Should Be Mopping The Floor, Inside The Fox Den, Coastal Charm, Skip To My Lou, Creatively Living, Plucky's Second Thought, Strangers and Pilgrims On Earth, Cedar Hill Farmhouse, Flamingo Toes, Cupcakes and Crinoline, The Crafty Blog Stalker, Lou Lou Girls, Celebrate and Decorate, A Stroll Thru Life, Our Home Away From Home, The Dedicated House, The DIY Dreamer, Ducks 'n a Row, Savvy Southern Style, Gingersnap Crafts, The Blissful Bee, DIY By Design, Beyond The Picket Fence, VMG 206, Home Stories A to Z. Live Laugh Rowe, Up To Date Interiors, At Home With Jemma, Olives-n-Okra, Craftberry Bush, Remodelaholic, Blooming Homestead, Ms Toody Goo Shoes, Lambert's Lately

Thursday, October 6, 2016

Autumn Wreath Tutorial

For many years, in autumn, I have hung a black basket on the front door filled with a small arrangement of earthy colored mums and a orange and black checked bow. I decided I wanted something a little different this year. I am a firm believer that before you go buy something new, "shop your stuff". Translation: look around at what you already own. I am a crafter and that means that sometimes I grab stuff on super cheap sale even though I have no immediate plans for it or I hang onto stuff for years just in case I need it down the road. Such was the case with this sad little twig wreath. Notice the bald spot? Hmmm....


I pulled piece of styrofoam from my stash and covered it with Spanish moss.


To attach the moss to the foam I used these little pins. You can find them in the craft store in the flower arranging section.


A 50% Michael's coupon helped me purchase two stems of fake flowers; one hydrangea and one a daisy looking thing-a-ma-jig. The hydrangea had six blooms on it so I used my wire cutters to selectively cut them apart leaving some stem on each. I also cut separate stems for the leaves. I did the same thing to the daisy flowers.


Arrangements work better when you use uneven numbers. I don't know the theory behind it but I learned it a long time ago when I worked in a florist's shop in Denver and it works. So, with that in mind, I placed three hydrangea blooms in a isosceles triangle (an imperfect triangle).


Next I put in the daisy things and then the leaves.

I made a bow of sorts from a piece of burlap "ribbon" I had used from another project a looonnnggg time ago. It was so long ago that I am surprised it isn't thread rot.


To make a bow pull about 4inches of ribbon in your left hand (assuming you're right handed) and scrunch the fabric in the middle, pinching with your thumb and pointer. My ribbon is chunky so it took all the rest of my fingers to hold it all in place.


Twist the bottom piece 180 degrees and with your right hand grab the next 4 inches, making a loop and pinch the fabric together holding now with the first bunch- directly under it, and give it a twist.


Pull another section, this time about 5 inches and make a loop, pinching and joining to the others, and give it another twist.


I did a total of 5 loops. Remember to work in odd numbers. You can do as many loops as you would like. I stopped at 5 because of the size of my material. Once the last loop is made pull another 4-5 inches and cut the ribbon from the spool. The first 4 inches and last 4 inches are the tails to your bow. Normally, I would use florist wire to tie off my bow but I couldn't find it so I used a pipe cleaner. Wrap the wire around the pinched section by threading it between your fingers (making sure to keep the bow pinched) leaving the ends hang in the back.


Pull the wire tight and twist it.


Now, fluff your bow. Ta-da!


I placed my bow into the styrofoam. If I had used floral wire I would have had to attach a wooden floral pick to have something to push into the foam but since I used the pipe cleaner I was all set.

Next I pulled some wool acorn ornaments that I snagged at Lowes after Christmas last year. I got a great deal on them and picked up two boxes for 50% off the sale price! I used 3, attaching them to wood picks and placed them in the arrangement.


The door this hangs on has glass storm door so I used a piece of jute to hang it from as my 3M hanger was white and stood out like a sore thumb!


The finished product. It cost was $8 for the flowers and I had three bunches left over. I will show where they ended up later. Everything else I owned. Now, go shop your stuff and make something fabulous!

Linking Up to these parties!
Lambert's Lately, Imparting Grace, Katherine's Corner, The Vintage Nest, Joyful Homemaking, Have A Cup Of Mrs. Olson, A Delightsome Life, Up To Date Interiors, Craftberry Bush, From My Front Porch To Yours, The Pin Junkie, Shabby Art Boutique, French Country Cottage , Chic On A Shoestring, The Cottage Market, The DIY Village, DIY Vintage Chic, McCall Manor, Charm Bracelet Diva, Remodelaholic, Olives n Okra, Pieced Pastimes, One More Time Events, Blooming Homestead, The Boondocks Blog, Re Do It Yourself, Nifty Thrifty Things, Finding Silver Pennies, DIY Showoff, Create With Joy, I Should Be Mopping The Floor, Dwellings-The Heart of Your Home, Inside The Fox Den, Skip To My Lou, Creatively Living, Plucky's Second Thought, Mad In Crafts, Strangers and Pilgrims On Earth, Cedar Hill Farmhouse, Coastal Charm, Domestically Speaking, A Stroll Thru Life, Our Home Away From Home, The Stonybrook House, Celebrate and Decorate, The Dedicated House, Cupcakes and Crinoline, The Crafty Blog Stalker, The Lou Lou Girls, Flamingo Toes, Family Joys, DIY Dreamer, Savvy Southern Stylem Ducks In A Row, Blissful Bee, Handy Man Crafty Woman, My Repurposed Life, The Newlywed Pilgrimage, DIY By Design,
Charm Bracelet Diva, Ginger Snap Crafts, VMG206, Home Stories A to Z, Ms. Toody Goo Shoes