Monday, February 16, 2015

Retail Therapy

I completely do not know what happened to this post! The whole thing disappeared without warning. I am attempting to recall what I said and what places I had been to and what sites I had linked up to but I am struggling. If anybody has a clue how to restore please let me know. For now this what I can recall:

I live in New England and there has been mucho snow! We needed a break and so shopping it was! We went to Vintage Thymes Monthly Market. They are only open three days every month but boy do they pack a lot into that three days!

My 16 year old just loved this vintage wedding dress:


They were celebrating Valentine's Day and love was in the air.


Vintage Thymes hosted a guest exhibitor that I first learned of on a trip to Cape Cod. Her items we lovely and made me long for the sand between my toes.

Simply Vintage


We stopped at several different shops in the old converted WinSmith Mill.

I had a nice conversation with Deb at Diggin Daisy's who was having a sale on anything Italian made in honor of Carnavale. I picked up some lovely glass wear and couldn't beat the price.

Bluebird Studios inspired me with a frame and paper flower.


I found another treasure at the Vintage Peacock.


When all was said and done we headed home with our treasures.

I filled my $5 pitcher with some grocery store flowers and put up the garland I made. I used paper paint samples from the home improvement store and punched out the shapes. I sandwiched twine between the disks of paper using my glue gun to form the garland. I draped it over the mirror in the dining room.


I had a wonderful day with my girls and they were so sweet to bring me some flowers to add even more beauty to our home.


Well, this is an abridged edition of what was originally written. My apologies for the mix up. I am trying to get it straightened out. AHHHHHHHHH!!!!

Linked to Cedar Hill Farmhouse, Coastal Charm, I Should Be Mopping The Floor, Your Home Based Mom,  Skip To My Lou, Cupcakes and Crinoline, Huckleberry Love, Lamberts Lately

Friday, February 13, 2015

Thinking Outside the Box

My dining room was finished a while back (see it here). I searched to no avail for lined, apple-y green curtains. I did not want to spend a fortune for them and things I found that were affordable looked like they belong in a child's room. I ordered from different websites and waited oh so impatiently for them to arrive. After getting a several sets that were not the chartreuse (more grown up word) green that was pictured on the websites I finally just kept one of the sets and made it work.

My other issue with curtains was that I did not want tab tops or grommets. I know: picky, picky, picky! The curtains I settled for had the back tabs or could be fed through a rod pocket.

I love the color in this photo but this is not accurate!

First I tried the rod pocket. I did not like the look at all. Because of the weight of the fabric they wouldn't stay pulled back so I had to use the back tabs. I hung them, steamed the wrinkles out and carefully folded them in an attempt to make them hang neatly. I could not get it neat. "It'll do", I thought. But......it did not work! It was irritating me like a bit of sand in my shoe. Rubbing, rubbing, rubbing. Grrr! Constantly. I felt if I just fussed with it a bit more it would be okay. NOT! I should just find something else......sigh.

I am irritated just looking at this picture.

Every night I sat in the dining room, eating my dinner and being majorly bugged by those curtains. Of all the things in the world I could obsess about and this is all I can come up with?!

I decided to finally buy some curtain rings and see if that would not help.


Clipping them at the top made them too long. I tried the floppy look and hated that. The stupid tabs in the back hung over and I could see them.....like they were taunting me.

You can see the tab on the right. Grrr!

I had completed two windows when the light bulb in my brain finally got up to full strength. Why hadn't I thought of this before! The hems on my curtains are about the same width as the header so I just flipped them upside down. Those silly tabs aren't going to bother me anymore! Genius!

Right about then I seemed to remember that the idea was not totally new to me. Had I thought about it before and forgot? Did someone suggest that to me before and it just took this long to get through the maze of crazy in my brain? Pinterest? Maybe my friend, Tara, had suggested it. I don't know. I am reluctant to take credit for it, for fear that it may not be my genius. And, if I did have a stroke of genius the pressure to continue to perform at that level is too crippling so I'll move on.


I did not stop there. Once I clipped the rings on the back and put them on the rods I did a little fluffing. I simply pulled the hem open and zshooshed it a bit. Perfect! Well, at least they aren't bugging anymore. Tonight I ate my dinner feeling quite happy with myself. I know you're probably thinking I've lost my marbles and maybe it's a dumb idea but for right now I am happy as a clam. (Whatever that means.)


I should steam the bottoms out again.....
So, what do you think? Genius or crazy? What about you? Any 'outside the box' decorating moments? I would love to hear about it.

I joining these linking parties: The French Country Cottage
                                                 The Shabby Nest
                                                  Nifty Thrifty Things
                                                 Too Much Time On My Hands
                                                 DIY Show Off
                                                 Chic On A Shoestring
                                                 Whipperberry
                                                 I Heart Naptim
                                                 Tatertots and Jello
                                                 The Girl Creative
                                                  Coastal Charm
                                                  I Should Be Mopping The Floor
                                                  Your Homebased Mom
                                                  Huckleberry Love
                                                 Cedar Hill Farmhouse
                                                 Skip To My Lou
                                                 Cupcakes and Crinoline
                                                 Home Stories AtoZ
                                                 A Stroll Through Life
                                                 Elizabeth& Co
                                                 Savvy Southern Style
                                                 The Turquoise Home
                                                 Lamberts Lately

Thursday, February 5, 2015

Something Sew Small

It has taken six months or so but I finally got the kitchen window treatments completed!


I say that excitedly in type but in reality it does seem more like a statement followed by a less than enthusiastic sigh. It was not a difficult task per se and yet it has taken all this time! I can procrastinate like it's nobody's business.

The kitchen gets sun in the morning from the southeast streaming through the back door and window next to it. In the afternoon we have to wait until the sun moves around to the other side of the house. We don't get good natural light until late in the afternoon. For these reasons I really don't want to cover the windows much. A "dream home" for me would be one where no window treatments were needed at all.... like this:

Source

Source

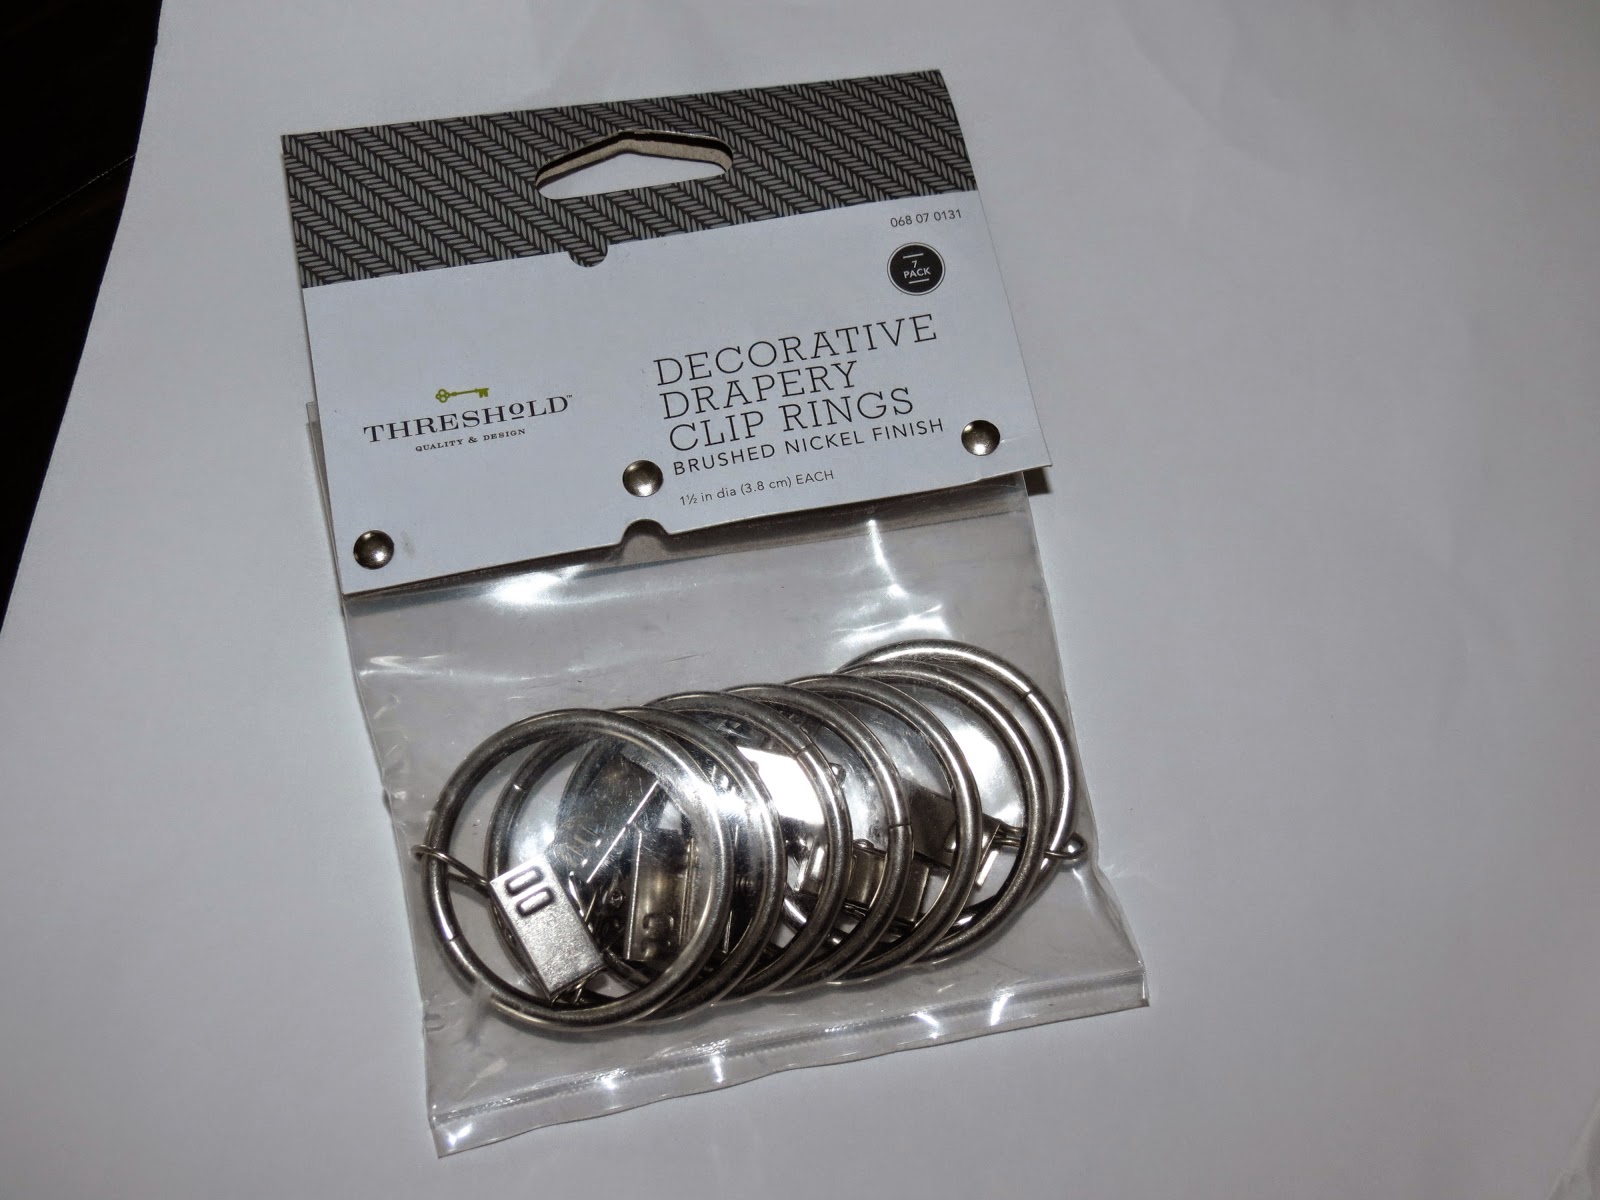
I knew I wanted to mount the treatments high enough to just cover the window frame at the top but not obscure the light. I wanted them clean looking. The hardware needed to be simple. When shopping I realized that curtain rods would be a major problem, especially at the window adjacent to the back door. The old window treatments were on spring rods fixed inside the window frames so I never gave it a thought before now. Come to think of it, maybe that is why I had done spring rods before-I really can't remember.

The window frame almost touches the bathroom door frame. No room for
a curtain rod.
I really want extra colors in the kitchen to come from accent pieces leaving the foundation neutral. I also wanted something that could be washed. I looked at several semi-custom valances to buy but all of them were dry-clean only. I have a smaller kitchen and grease, smells, ect. need to be washed away occasionally. And, well, we're messy. I realized I was going to have to bust out my sewing machine partly because I wanted something I could launder that still looked nice and partly because I was too cheap to pay what they wanted in the stores. Let me preface the rest of this post by saying I am not a seamstress. I can sew straight lines....sometimes. (I use dressmakers chalk or washable quilting pens and draw on my fabric sometimes if a straight line is proving too difficult.) I found a fabric that I thought worked well with the wall color.  This is what I settled on. I had a Groupon coupon that I used to purchase my fabric making it very affordable!


I scoured the internet and found the shape of the valances I wanted. I did end up modifying it a bit.

Source
This was my inspiration.

I measured the windows (width including the window molding) and went to work. The three windows were roughly the same, give or take an inch, or so and I adjusted for that on each valance as needed. I took some craft paper and drew out my pattern based on the smallest window making sure to leave enough for a 5/8" seam allowance. I also added 31/2" to either end for the wrap around. Each valance will have a return on both sides back to the wall to cover the mounting board. Before cutting the pattern out I folded my paper in half  to be sure that the pattern was perfectly symmetrical.  I pinned my pattern to the fabric and cut out my piece then cut out a piece for the lining. Right sides together, I sewed the pieces leaving room open at the top to turn it right-side out. I clipped my corners and notched the curves so that everything would lay flat. Once that was completed I turned it right-side out and ironed it smooth. At the very top I sewed the loop part of hook-and-loop tape to the lining side of my valance closing up the opening I used to turn it out. I did not want to put the hook side of the tape on the curtain for fear that it could catch on the fabric and pull it when I wash them.


 I did one at a time which turned out to be a very smart move because I pulled a major rookie mistake.  I am working with a geometric pattern and I did not take that into account while cutting my fabric as I was excited to just get going on this. When all was said and done, sewing, mounting, ect. THEN I noticed my pattern was off. Ugh! I know better than that!

Can you see the pattern at the top and the bottom! It still makes me mad!

Well, that took the wind out of my sails.....for weeks. Christmas was on the way and I did not have time for these things, I told myself, so it got put aside. Queen of procrastination. You could catch glimpse of it here in a photo from my Christmas post:


I eventually made it back and completed my oh so delayed mission.

To mount the valances I cut pieces of 1x3 to extend 1/2" on either side of my window molding. I wrapped each piece in the white lining fabric I had used on the valances and secured the fabric with a staple gun. I then used a staple gun to attach the hook part of the hook-and-loop tape to the edge of three sides of the wood.


 I used L-brackets to secure the wood above each window.

You can see the hook-and-loop already attached.


Once the board was secure I put up the valance. Here is where that extra amount of fabric on the ends was important because of the wrap-around effect on the ends of the wood.


Pay no attention to my yet unfinished island.... another project waiting...

I did remake a valance for the window next to the back door. I thought originally that I would dress the window on the door but can't figure out what to do there.


I think it would look odd right next to the window and the height it would have to be mounted at on the door is an issue. For now I am not going to dress it at all. This project wasn't so hard but did require I pay close attention to the pattern. A small floral pattern or solid material would have removed that level of difficulty but where is the fun in that? All-in-all I am pleased with the overall project and glad finally have that off my to-do list.

There are other projects waiting.....


Linked up to: Imparting Grace
                       French Country Cottage
                       The Shabby Nest
                       Chic On A Shoestring
                       To Much Time On My Hands
                       Cedar Hill Farmhouse
                       Savvy Southern Style
                        Lamberts Lately
                       Someday Crafts
                       The Blissful Bee
                       Coastal Charm
                       Nifty Thrifty Things
                       Tatertots and Jello
                        Romantic Home
                        The Girl Creative
                       Sand and Sisal


That DIY Party @diyshowoff.com

Woot! Woot! I've been featured at:


Friday, January 23, 2015

Good For Use

Thanks for stopping by! Grab a cup of tea. I have been doing a little cleaning so please forgive the mess. Let me tell you how it got started.


While reading a recent thread on a facebook page someone had commented on their tarnished silver and how it doesn't bother them. "Me, too", I thought. Then I started looking around at my silver pieces. I have quite a bit of it. I did not purchase most of it. I inherited it from my grandmother and great-grandmother. Life was different for them. Entertaining in their lives was something more formal and special. I can only imagine paper plates and red solo cups would have been a major social faux pas. My pieces are beautiful. I love the curves, the shine....

Some of my grandmother's and great-grandmother's silver.
This picture fills me with anxiety!


Well, truth be told I was missing the shine part but it doesn't bother me. Right? Wait, it didn't bother me. Of course, I haven't been using these pieces because they are tarnished. It is a big chore to clean all that silver. As I looked around at the rooms that have silver pieces the tarnish started to bother me- rreeaallyy bother me. Ugh! Okay. Do I just like the tarnish because it is easier to live with than to get rid of? Hmm. I felt a lesson brewing but pushed forward. 

I pulled three pieces. I will start there. I grabbed the one piece that was almost black with tarnish.


 I know! Tarnish doesn't happen over night. It is weeks and months of dust and dirt left unchecked. That is really bad for silver, blah, blah, blah. I know! I had some leftover Twinkle hiding somewhere from that last time I got this crazy urge. I also found some Tarn-x but couldn't remember why I bought it since the bottle was still pretty full. When I opened the bottle and poured some out it became abundantly clear! That stuff STINKS!! What is in there? I will stick with the Twinkle.

That first dish took me over an hour to clean up. It was that nasty. I was talking to myself the whole time; chastising myself for allowing such corrosion to take place and not keeping it in check with regular cleanings. As I rubbed and the black lifted I could see glimpses of shininess that kept me motivated but I was thinking maybe I will just get this one piece done for the day- that will be enough. There has to be an easier way than this. After rinsing out my sponge more times than I cared to count I finally washed the piece off and buffed it up with a dry towel. It was not as clean as I had thought. I had to repeat the process several times before it really was clean.

I could now see my reflection! Yay!  Now the real beauty of the piece shined forth! Why had I let it get so bad? The true beauty of the piece is really only seen when my reflection can be seen in it. Not that the reflection of my image is of any importance but at this point I am keenly aware that I am being taught a lesson here. I grabbed more silver!

I searched the internet (think Pinterest) and found a recipe for cleaning silver. I lined a plastic tub in tin foil, added 1/2 cup of salt and 1/2 cup of baking soda and filled the tub with hot water. Stir it a bit to dissolve the salt and soda. I put some spoons, a julep cup and some plates into the water. I thought that the smell that was coming from the plastic tub was similar to the bottle of Tarn-x. It is not quite as bad but it is there. Ten minutes in the tub, rinse with warm water and buff up with an old, soft t-shirt. That did work wonderfully but on the really bad pieces there are not short cuts. I grabbed more silver. I got about 1/3 of the pieces clean and will work on more today.

Two hot chocolate cups-one dirty one clean.

So much better clean!

One days fruit!


Tarnish is corrosive. It can cause pitting that cannot be removed. I am sorry to say there was one piece that was damaged to that point. During the cleaning I was repeatedly reminded of truth. When I do not go to Christ Jesus with my sin-dust and dirt- regularly it tends to build up. I lie to myself that is easier to live with the yuck than to submit to the cleansing. Over time the beauty He has given me is not easily seen. But, He is faithful to bring me to a place where I am bothered by the ugliness just as I was bothered when I really looked at my silver. Then He begins the cleansing. He rubs and buffs through trials, prayer and His Word. Sometimes scars/pitting is left that is a reminder of my neglectfulness. When He has finished the image that is reflected is his own then the true beauty and worth of His piece shines forth and is good for use. How long did I sit this time covered in tarnish being of no use to my King? His mercies are new every day and today I am ready for use.


With all this silver sparkling clean I am admiring the beauty. I think I will linger here for a bit over a cup of tea before getting back to work.  I am glad you stopped by today. Thanks for the visit.

Thursday, January 22, 2015

Better Late

Okay, it has taken me every bit of three weeks but I finally got my Christmas stuff put away. Well, mostly put away. The icicle lights are still hanging off the gutters on the front porch but they can wait. It is cold out there and I am not into self torture.


For the past ten years we have hosted an annual Christmas party with two other home school families. It began when the children we much younger. We don't meet with either family for school anymore but the children insisted we still had to have the party. "It's tradition!", This year's (or can I now say last year's) Christmas party was delayed due to illness (I had a flu bug) and the next available date for everyone was not until the first week in January.

Typically, I like to have everything down and put away on New Year's Day. As a home school mom people get the impression that we have an abundant amount of time to get things like that done but the truth is -at least my truth is- I don't have time to spend a whole day taking things apart, packing them up and then dragging it all up the pull-down stairs to the attic, to speak nothing of the vacuuming and dusting afterwards. It is also a lot easier to get things to the attic with Mr.'s help. We needed to be ready to dive back into full-time school work January 2nd. With that all in mind I started taking things down and packing them away the morning of January 1st and as soon as my girls realized what I was doing they started whining like four-year-olds. No offense to four-year-olds. So some things made it to the attic but most of the stuff got left out for the belated Christmas party.

I mused that at least the menu could be a little more sophisticated since they are all getting older and their palates are more mature. Ha! I verbalized that to one mom and then an email came from the other mom expressing the her children were so excited about having our annual pizza puffs! Really?! My girls concurred, of course. "Mom (insert whiny voice here), we have to have to have pizza puffs! (Say it with me.....) It's tradition!" I can hear Tevya from Fiddler On The Roof singing right now! So pizza puffs and gingerbread cake it was. I did manage to sneak in a different punch with no complaints.

The party was a success. It was nice to hold onto Christmas a little longer. The girls were right. Keeping things up did lend to a festive atmosphere. The children used to play games like snowball fight in my kitchen. No.....not real snowballs! We would used wadded up tissue paper and there was a line across the center of the room. Whichever team ended up with the least amount of snowballs on their side of the room at the buzzer won the match. My kitchen is not huge but when they were little it was fine. As they got older the thought of them being able to play like that in the kitchen seemed comical as just having us all stand in the kitchen made it crowded. We also used to do colonial dancing with the kids. Now, before you roll your eyes you should know that the kids liked it. Really. The girls used to dress up when we would take them to Sturbridge Village, they liked it! Really!

Now we settle for less physically active games. The kids enjoy talking and reminiscing about "the good old days". It was fun for us as moms to listen to their recollections of Christmases past. As moms who teach at home we often wonder if we are doing everything they need. Conversations that day served to assure me that what we have done at home has been worthwhile. I don't know how many more of these parties we have in our future as the children grow, go off to college and move on from childhood things. In the grand scheme of things waiting an extra week (or three) to pack things away really was not a big sacrifice. One day is coming when thoughts trying to get my home in order while schooling and living in a transition mess will be forgotten.  What will remain are the memories of laughter, excited chatter, carols sung, children dancing and the joy of just spending time celebrating the blessings we have because of what God has given us.