Thursday, May 14, 2015

It's In The Bag

Warmer days have my mind dreaming of various fairs and yard sales and days on the beach. I know there are big and little junk treasures just waiting for me to pick them up. You can never have enough bags for your treasures when you head to Vintage Thymes or Brimfield or The Vintage Bazaar.

Last year I had seen a lot of cute bags on Pinterest and in a couple shops that I frequent. I wanted something that was large enough to take shopping with me that could hold my phone, wallet and still have plenty of room for those must haves but I just did not want to spend the money on something that I would have to be careful with. I wanted something that could take a beating, get thrown into the wash and go again but I also wanted it to be cute. This is what I came up with:


I used some material in my stash. I used a left-over cotton canvas I had used to make a slip cover with many years ago but I think I could also use a drop cloth or really anything you have. Either way it was not an expensive piece of fabric. I had gotten it for $1 a yard when my Walmart used to sell fabric. For the lining I used a piece of cotton muslin I had in my stash. I'm not the only one who holds onto fabric scraps "just in case", am I?

I used a piece of paper to cut a square pattern (approx 17" x 17") that would become the sides and lining of the bag. With the pattern I cut two pieces of the canvas and two pieces of the lining material.

I then folded the pattern in half and used it to cut two strips of canvas one and a half times the original length. (approx 8 1/2" x 25 1/2")


Inside the bag I need a couple pockets to keep my "stuffs". I cut another piece of paper to determine how big I needed it. I folded it here and there and came up with what I thought would work best. I cut two pieces of lining material; approximately 10" x 8". In these pictures my pattern was 5" x 8" and I cut it on the fold line so it was double thickness.

Pocket piece


Finally, I figured how long I wanted the strap to be by measuring where I wanted the bag to hang on me. I wanted it low on my hip when I wear it cross-body. I cut my fabric to about 40" x 3". 

Time to sew! First, fold and iron 1/2 inch in on either side of the length of strap piece. Fold in half and iron flat. Now sew length closed close to the open edge. I used the pressure foot as my allowance guide. This gives you a stitch line that is visible. I could have sewn it and turned it inside out then pressed it so that stitching did not show but the fabric is thicker and I did not relish the idea of trying to turn out a strip of fabric 40" long!

Next, I worked on the pockets. Fold the pieces in half so they now measure 5" x 8", right sides together.(It doesn't matter with muslin.) Iron flat. Sew with 1/2 inch seam allowance leaving a 2" opening. Clip corners. Turn inside out and iron flat.   When sewn onto lining the hole will be at the bottom of the pocket and closed up with top stitching.


Place pockets on the right sides of lining, approximately 1/3 down from the top. Pin pockets in place. Top stitch close to edges (again using edge of pressure foot as seam  allowance guide), leaving the top opened. Make sure to back stitch when starting and stopping. On one pocket I then sewed down the middle making two smaller side-by-side pockets that are now out 3" x 5.


Two-pocket pocket


Place muslin pieces, pocket sides together. Sew sides and bottom, Iron seams open. Set aside.


And here is where I dropped the ball in the photo area. Just read the directions carefully if you want to try this. Sorry.

The longer strips of canvas (8 1/2 x 25 1/2) will be the ruffles for the bag. With the canvas I wanted a raw edge that would fray a bit so I did not turn this under and give them a finished edge. I did top stitch the bottom of the ruffle about 5/8" from edge. This will keep it from unraveling too much in the laundry.

Do this step with both ruffles. At this point I purposely unraveled some threads to make the edges look frayed. Next, sew along the top of the ruffle using an extra long stitch. Pull the bottom thread to gather your ruffle so that the finished ruffle measures  the width of the bag; in my case 17". Do the same on the 2nd ruffle.

Grab one canvas square and place your ruffles. The bottom ruffle I placed even with the bottom edge (my bottom ruffle will hang slightly below bottom of bag when finished) and pinned it in place.Reset your stitch back to normal. Pin across the top of the ruffle and sew in place from the right side leaving about a 5/8" edge for fraying later. (I sewed two rows side by side at the top of each ruffle.) Place your 2nd ruffle overlapping the first by 2" or so. Pin in place and sew.

Grab 2nd piece of canvas and right sides together. Be sure to catch the sides of your ruffles into the seam but making sure to keep the rest of the ruffle gathered toward center and out of the way of seams. Pin in place along sides and bottom. Sew with 5/8" seam allowance.  Trim corners. Iron seams open

Now it gets tricky and this is usually where I mess up. Leave canvas inside out. Pin the strap to the inside of bag.  Sew in place at 5/8". REMOVE PINS. (from experience, you do not want to forget this move.) Leave the strap inside the bag.  

Place lining, turned right-side out into canvas, which is still inside out. This will leave the two right-sides (canvas and  lining) touching. Pin in place. Sew around top of bag leaving a 4" opening. Turn right-side out and press flat. Top stitch around top of bag.

On my bag I added a flower. I used some scrap canvas and some material from an old sweater and made a "flower". I cut a length of fabric approximately 3feet by 2". I baste-stitched  one edge and I used the stitch to gather the material as in the ruffles. I rolled the gathered cloth onto itself in a spiral, stitching it in place as I rolled. I hot-glued, then stitched for extra measure a pin to the back so that I can remove it before washing. 


It is perfect for what I wanted! I love it and have used it many times in shopping. Also great for a trip to the beach, farmers market, ect.  I made another for one of my girls but used a light weight cotton and muslin and made it a little smaller for her, 15 x15". I also doubled the width of each ruffle for a little more frill. She did not want a big flower on hers. What!?!?!


This is my bag a year later. It has been washed several times and still looks great. This weekend it will be used for the thing it was intended as we head to the Brimfield Antique Show. The ladies from Vintage Thymes and Vintage Bazaar have booths there and I will be sure to find them and there are plenty of new friends to make along the way! If you are headed there tell the ladies you heard about them here! Happy sewing, treasure hunting, or what ever you planned for this weekend!


Linking Up:
Lambert's Lately, Common Ground,From My Front Porch To Yours, Shoe String Elegance French Country Cottage, The Shabby Nest, Chic On A Shoestring, Dictator, Whipperberry, My Romantic Home, DIY Village, DIY Vintage Chic, Imparting Grace, Too , Much Time On My Hands, AKA Design, Snazzy Little Things, My Repurposed Life, The Charm of Home, Pieced Pastimes, DIY Showoff, Dwellings-The Heart of Your Home, Sew Can Do, I Should Be Mopping The Floor, Karen's Up On The Hill, The Dedicated House, Creatively Living, A Bright and Beautiful Life, Cedar Hill Farmhouse, Coastal Charm, Flamingo Toes, Skip To My Lou, Huckleberry Love, Sand and Sisal, The Stitchin Mommy, A Stroll Through Life, Elizabeth and Co.,DIY Dreamer, A Bowl Full of Lemons, Our Home Away From Home, Cozy Little House, Savvy Southern Style, The Blissful Bee, Simply Designing, DIY by Design, Crafty Allie, DIY Vintage Chic, The Cottage Market, Behind the Seams Sewing, Gingersnap Crafts, Mad In Crafts, Inside The Fox Den
,


Thursday, May 7, 2015

Springtime Motivation

Flowers have popped out all over the place in my yard finally!


That means I am  looking  to get out in my gardens and ready my home for cookouts and s'mores by the fire pit. My favorite vintage market was taking place and our work was done for the week so off I went for some fun.


I must say the ladies at Vintage Thymes are always so very gracious to me when I walk in with my camera. The theme this month was The Garden Gate and the pickings were wonderful. I just do not have enough money to buy everything I like nor do I have home large enough to house it all. I really need a job where I get to decorate other peoples homes so I can buy this neat old stuff for their homes. I would get the joy of the hunt, get to see it all come together, still have room in my house and get paid to do it all! Or maybe I should be doing what these ladies are doing. I would get to have the treasures for a little while and then let them go. Alas, this is not the season in my life for that now so I will be content with sharing with you pictures of some things that caught my eye.


The red and white caught my eye.

Fabulously chippy

Wouldn't this look awesome  on  a feature wall? 


A reminder that summer is on the way!

Art doesn't have to be a Van Gogh or Rembrandt. If you love it that's enough.


A hand printed poster by 23rd and Bird.
I perused the other shops and talked with the sweet lady at 23rd and Bird. I did walk away with her brown paper poster that I had been admiring just minutes before. She made a new one using a quote that I had scrawled on my chalkboard at home.

My chalkboard
23rd and Bird


I did buy this little guy at Vintage Thymes and stuffed him with moss and ivy:


The weekend before I visited the ladies of  Mary Ellen and Sandy's Vintiage Home & Garden Place. It was tucked away and I thought my gps had steered me wrong then in the clearing we came upon this cute little cottage.


And here are some photos from there:


Now with all these ideas running around in my brain I should be able to find something to work on (or at least finish the things I have started). Brimfield Antique Fair's first show of the year is next week! I know some of the ladies mentioned here will be going if you are interested in treasure hunting!
Linking up:
Lambert's Lately, The Charm of Home, Common Ground, From My Porch To Yours, Nifty Thrifty Things, DIY Showoff, Dwellings-The Heart of Your Home, Pieced Pastimes, The Shabby Nest, Chic on a Shoestring, Craft Dictator, Whipperberry, Snazzy Little , The Dedicated House, Cedar Hill Farm House, Coastal Charm, Flamingo Toes, I Should Be Mopping the Floor, Skip to My Lou, Cupcakes and Crinoline, Huckleberry Love, Sand& Sisal, A Bright and Beautiful Life, Creatively Living, Karen's Up On The Hill, DIY Dreamer, A Stroll Thru Life, Elizabeth & Co, A Bowl Full of Lemons, Our Home Away From Home, Cozy Little House, Savvy Southern Style, The Turquoise Home, Simply Designing, DIY by Design

Friday, May 1, 2015

Painted Table

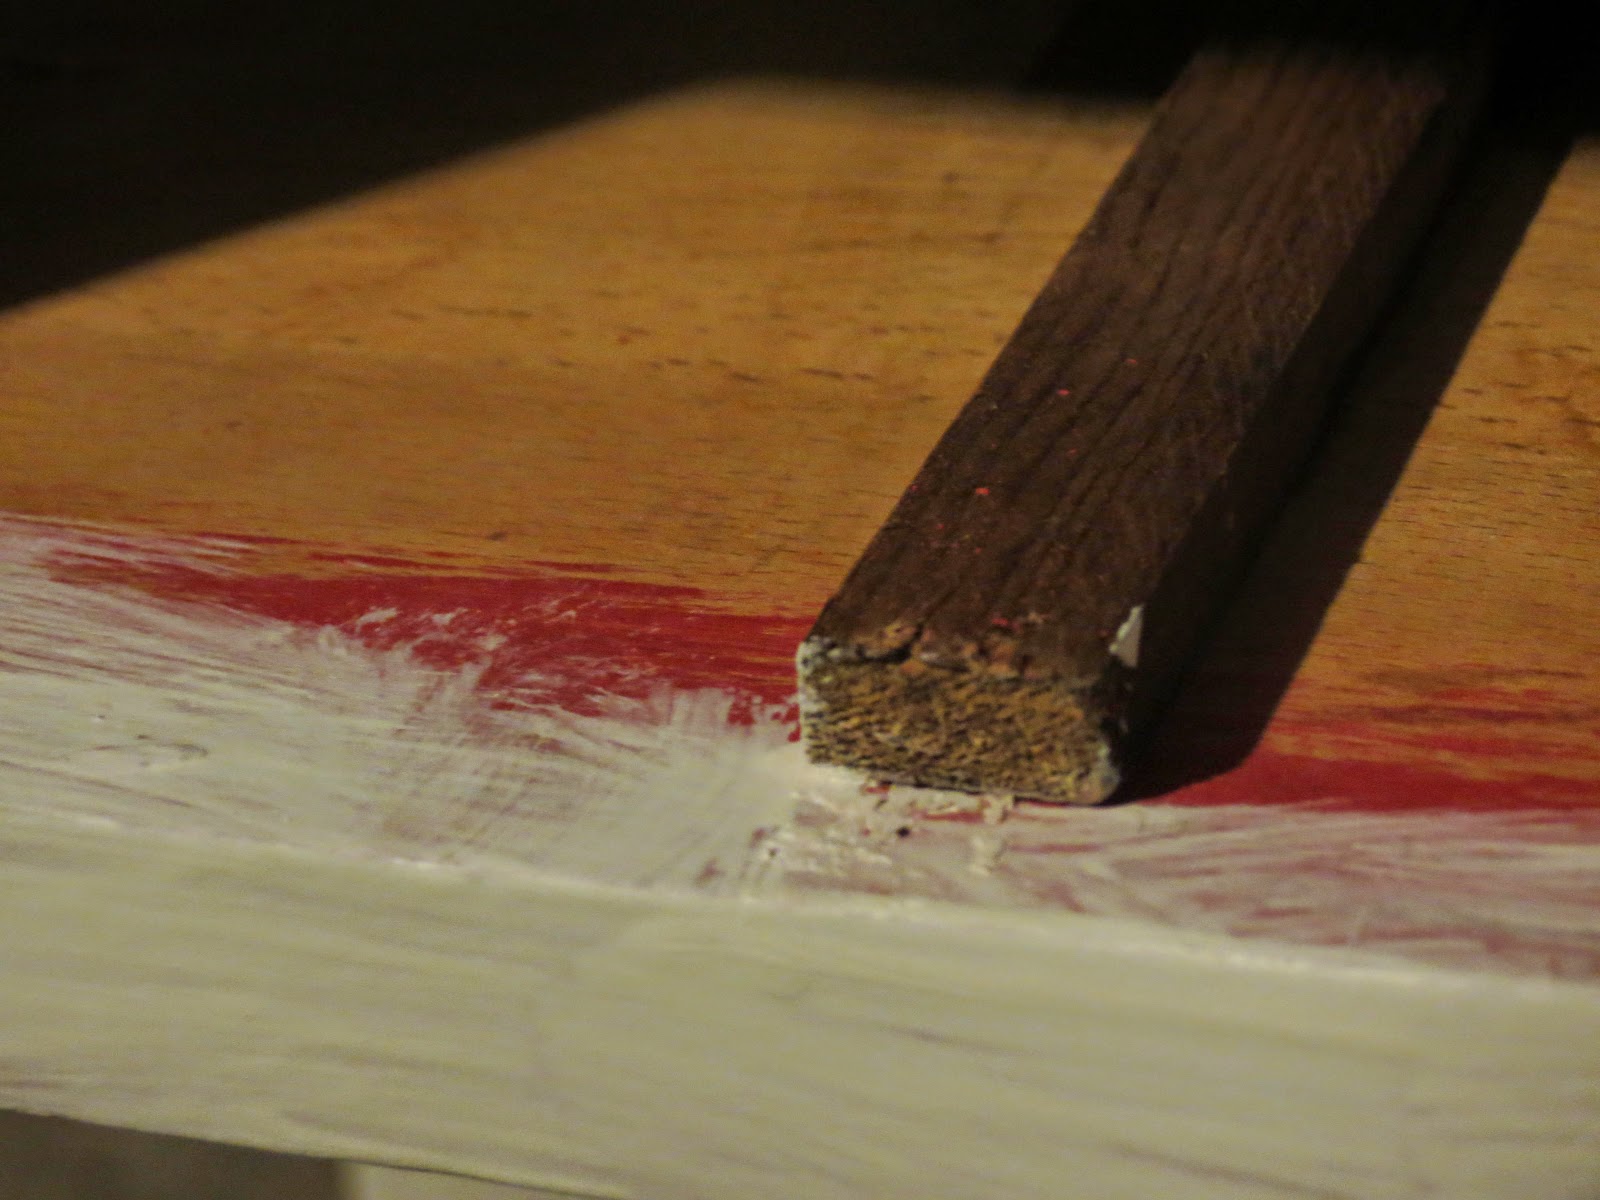
I picked up a little red table almost a year ago. I knew I wanted something for what would be my new 1/2 bath. Nothing too big; something that could take a little color. For $10 I found a small table and thought I could do something with it that would work for what I was looking for. For that price how could I go wrong? It was red and the drawer didn't sit well but that could be fixed. I am terrible at remembering to take "before photos". After I fixed the runner and I primed the piece and painted green on the top and drawer THEN it occur to me to grab my camera.


You can see the red paint. This was only one coat.

This is primer on the bottom to cover the red.
And there it was. I eventually painted the base a spa blue-green color and then everything got a second coat. I replaced the wood drawer pull with a glass one and it sat just like that waiting for me to decide what I was going to do. I wanted some of the colors I saw in Bermuda last year to come through in it but how......

A few weeks ago I thought some flowers might look nice and went to work with a piece of chalk sketching out the design on top of the table and pulling the design down onto the drawer..... and it sat. Homeschooling and life in general doesn't always allow for creative time. For me I cannot just turn it on and off at will. I have to wait for time, creative juices, and inspiration to merge.

Today I spent some time at one of my favorite vintage-upcycle-markets and the inspiration hit. I came home and finished my little table ....almost. I still need to seal it but for now I am content with the piece. I am not sure it is exactly what I had in mind but I do like the colors....for now.


Linking up:
Nifty Thrifty Things, DIY Showoff, Dwellings-The Heart of Your Home, I Should Be Mopping The Floor, Huckleberry Love, Grace Langdon Art, Creatively Living, Karen's Up On The Hill, Cedar Hill Farm House, Coastal Charm, Sand and Sisal, DIY Dreamer, A Stroll Through Life, Our Home Away From Home. Savvy Southern Style, Lambert's Lately, The Turquoise Home, Simply Designing, The Style Sisters, DIY by Design, Too Much Time on My Hands, Common Ground, From My Front Porch To Yours, French Country Cottage, Imparting Grace, The Shabby Nest, Just Us Four, My Romantic Home, Chic On a Shoestring, Miss Mustard Seed, Pieced Pastimes, Snazzy Little Things, Remodelaholic, Craft Dictator, Whipperberry, The Dedicated House, Cupcakes and Crinoline, Home Stories AtoZ, Cozy Little House, The DIY Village, The Cottage Market, Must Love Home, Gingersnap Crafts, Craftberry Bush, Crafty Allie


CraftyAllie

Friday, March 27, 2015

A Designer Spring

Day1 of this blog entry:

We have officially hit the magical number on the calendar this past week that says spring is here but looking out my windows and door you would not know it. Just Monday  the temperatures  were 30 degrees with a wind chill factor. The news reports are calling for rain tonight. There is still a measurable amount of snow on the ground from the "most snowfall ever recorded" winter. I can see the grass in some areas, like over the septic tank. While it is not an ideal location I will take what I can get at this point.

Easter is a week away and not one crocus has popped. Not one tulip has forced its head above the dirt. The forsythia bushes that line the back wall have no buds readying to burst open at the first warm day. My lilac bush looks cold and dead.

It has been a hard winter and I am ready for the springtime so I prepared my home for it and will wait for it to show up.

I started in the dining room. It is the first room you see when walking into our home and it is the first room I walk into in the morning. I want it to greet me with the excitement life and of spring!


Next into the kitchen I go. Still love my ever-changing chalkboard.

Before last week....

...and today!


Then into the living room; there is not much to do here. I replaced certain pictures and changed the hutch shelves a bit. Arranging them always proves a challenge for me. I have learned to take pictures and then adjust based on what I see in the photos. I changed the pillows and put away the winter throw though it is still in reach to grab on rainy days.

Christmas in the living room

Ha-ha out the windows there was no snow yet! This was in December-the only month of the year that I like snow.
Spring shelves, cleaned up and edited. Still not liking the arrangement.
Better, for now....

My favorite painting from my grandmother....

I had the pitcher and flowers long before I received the painting. 

I made a wreath for my front door following this blog post from Polka Dot Chair.


Day2:

It rained last night and the temperature stayed above freezing! Today’s temps are to be in the low 50’s and more rain is on the way in. That means more snow is on the way out! Yay! My gardens and shrubs have taken a beating this winter and I can’t wait to get out there and tend to them. Maybe a crocus or two will finally emerge.

The tulips are another story because the rabbits usually get to them just as they are ready to open. Cute as bunnies can be I have no love for them in the spring. My vegetable gardens are now all raised and fenced in because of said bunnies. Bunnies represent springtime for me because that is when I see them (or evidences of them) in my gardens most. I prefer my bunnies in the ceramic form with a bow around their neck.


What am I saying! Silly me! I prefer my bunnies in the chocolate form! Some of you are not surprised at that, I know.

That being said, we don’t do The Easter Bunny and egg hunts anymore. In our home, we celebrate Resurrection Day. As Christians, this day we celebrate is the very reason and assurance of our faith. I used to make resurrection cookies with the girls when they were little-not so much now that they are older . They always got new outfits-usually matching- (and accessories) to wear to church. 

2009

As they get older many things changed. They still get new outfits but shopping for them requires their input and is thus a bit more challenging at times. I will add a picture to this post later from Easter Morning 2015.


 As our younger girls enter the “springtime” of their lives I watch with a similar anticipation to that of my gardens. What will they bloom into?  I don't know what that will be for either of them but for now they bring a beautiful array of color to our lives that cannot be achieved with even the best crafters and designers on this earth. Their Designer is unmatched.

Horray for the promise of Spring! Horray for the shadows in this life that excite my anticipation of a day in the future when Christ will make all things perfect and new.

Link Parties:
frenchcountrycottage.net
shabbynest.blogspot.co
chiconashoestringdecorating.blogspot.com
justusfour.com
http://romantichome.blogspot.com/
http://thecottagemarket.com/
http://www.thediyvillage.com/
piecedpastimes.blogspot.com
niftythriftythings.com
diyshowoff.com
http://www.bystephanielynn.com/2015/03/the-sunday-showcase-party-no-279.html
http://www.dwellings-theheartofyourhome.com/2015/03/amaze-me-monday-104.html
http://www.cedarhillfarmhouse.com/2015/03/the-scoop-164.html
http://linda-coastalcharm.blogspot.com/2015/03/show-and-share-no255.html
http://www.ishouldbemoppingthefloor.com/
http://www.huckleberrylove.com/
http://myuncommonsliceofsuburbia.com/inspire-me-monday-53/
http://cupcakesandcrinoline.com/2015/03/30/project-inspired-112/
http://www.skiptomylou.org/2015/03/30/made-by-you-monday-232/
http://www.abrightandbeautifullife.com/making-monday-82-2/
http://boogieboardcottage.blogspot.com/2015/03/a-very-special-palm-sunday-and-linky.html
http://www.creativelylivingblog.com/2015/03/monday-funday-97.html
http://www.karensuponthehill.com/something-to-talk-about-link-party-10/
http://thediydreamer.com/from-dream-to-reality/spring-drinks-treats-and-food-fdtr-161/
http://www.astrollthrulife.net/2015/03/262nd-inspire-me-tuesday.html
elizabethandcovintage.com
abowlfulloflemons.net
lifewiththecrustcutoff.com
mariaelenasdecor.blogspot.com/
cozylittlehouse.com
bec4-beyondthepicketfence.blogspot.com
savvysouthernstyle.net
lambertslately.com
theturquoisehome.com
thededicatedhouse.com
livelaughrowe.com
diybydesign.blogspot.com
impartinggrace.com
thecharmofhome.com
commonground
frommyfrontporchtoyours.co
snazzylittlethings.com
craftberrybush.com


This post was featured on The Dedicated House!