Thursday, May 30, 2019

Traditional Home Makeover-"Formal" Living Room (Part 4)

I am beginning to realize that in real time it took less time for me to do this project than it is to taking me to write about it. We'll get through this, I promise! So far I have shared with you the before condition, and then the finished foyer and home office and powder room. (Click on each word to see that post.)


To the left of the foyer is the formal living room. Don't let the name of the room fool you. This family prefers a more informal space. Originally, the plan was to leave the wall colors the brown that was there. The homeowner didn't want to have to paint it or the adjacent dining room. The artwork below is the inspiration piece for everything we've done so far. We are keeping all the furniture. The blue pillows are color inspiration purchased to pull one of the blues from the art piece.


Once wall colors were changed in the rest of the first floor spaces it left those two rooms looking drab. The new color in the foyer is completely visible from the living room and dining room. In an attempt to marry the two color schemes we purchased a rug. While the new rug helped to unite the cool grays and warm browns it was felt a little like putting on a new dress directly after a sweaty workout at the gym. 
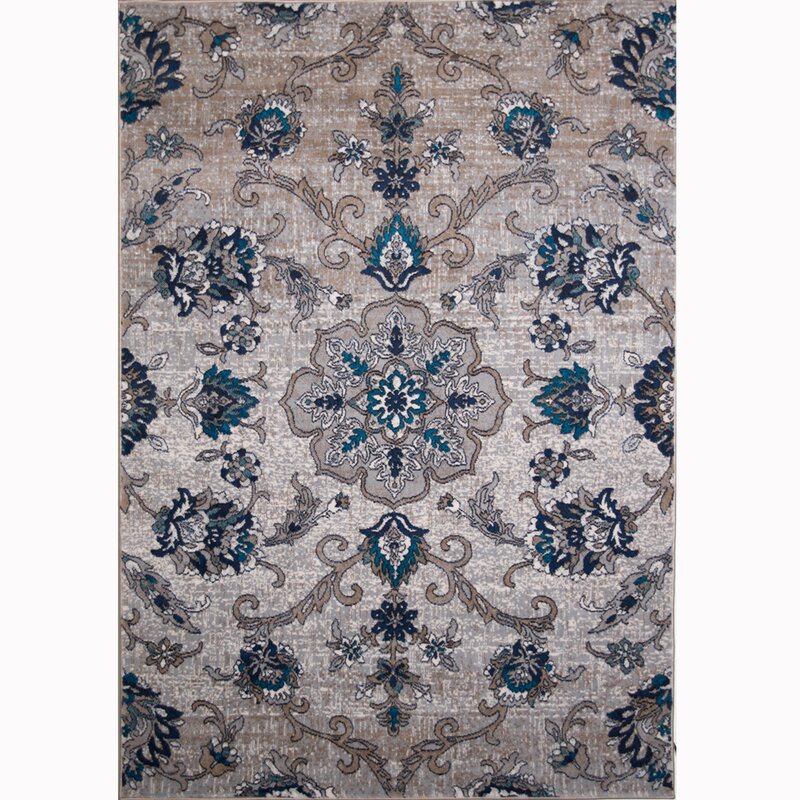
                                 Arend Cream/Blue Area Rug   
                                                                        (Source)                               

We tried several different curtains attempting to lighten the space but nothing worked well (except over exposing my photos in editing like the one below). The room still felt heavy and dark. The wall color sucked the light out of the room and made the new rug look dirty!


Ok, plan B; paint the walls. By this time our painter was gone and wouldn't be back for a couple months so armed with Frog Tape and paint brushes the homeowner and I got to work. Since neither of the rooms are vaulted and both had many windows it was relatively easy but a little time consuming. Prep work is your friend if you're not an experienced painter! Taping is a good thing and while it seems tedious initially, it will save you tons of work later. While I was present we got most of the taping done and the homeowner painted in the evening.
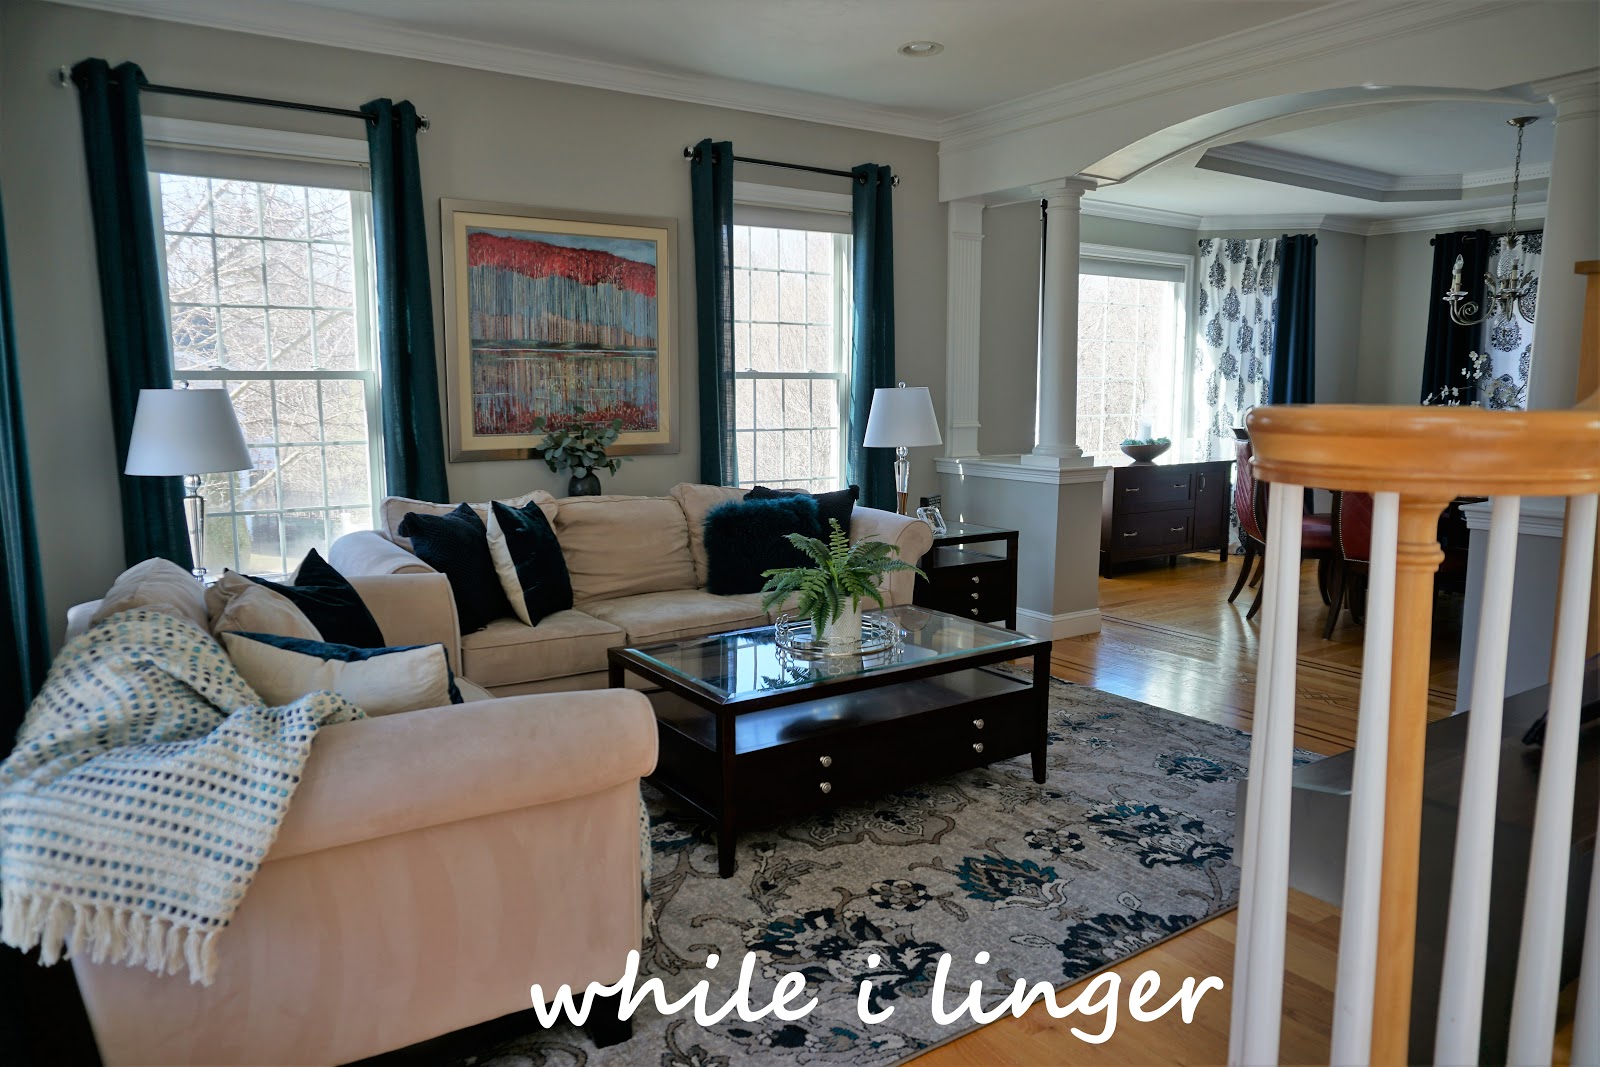

So much better!

After much conversation we decided to go with one color for both rooms as they are connected and the moulding is ornate. Adding another color would potentially have been just too much.


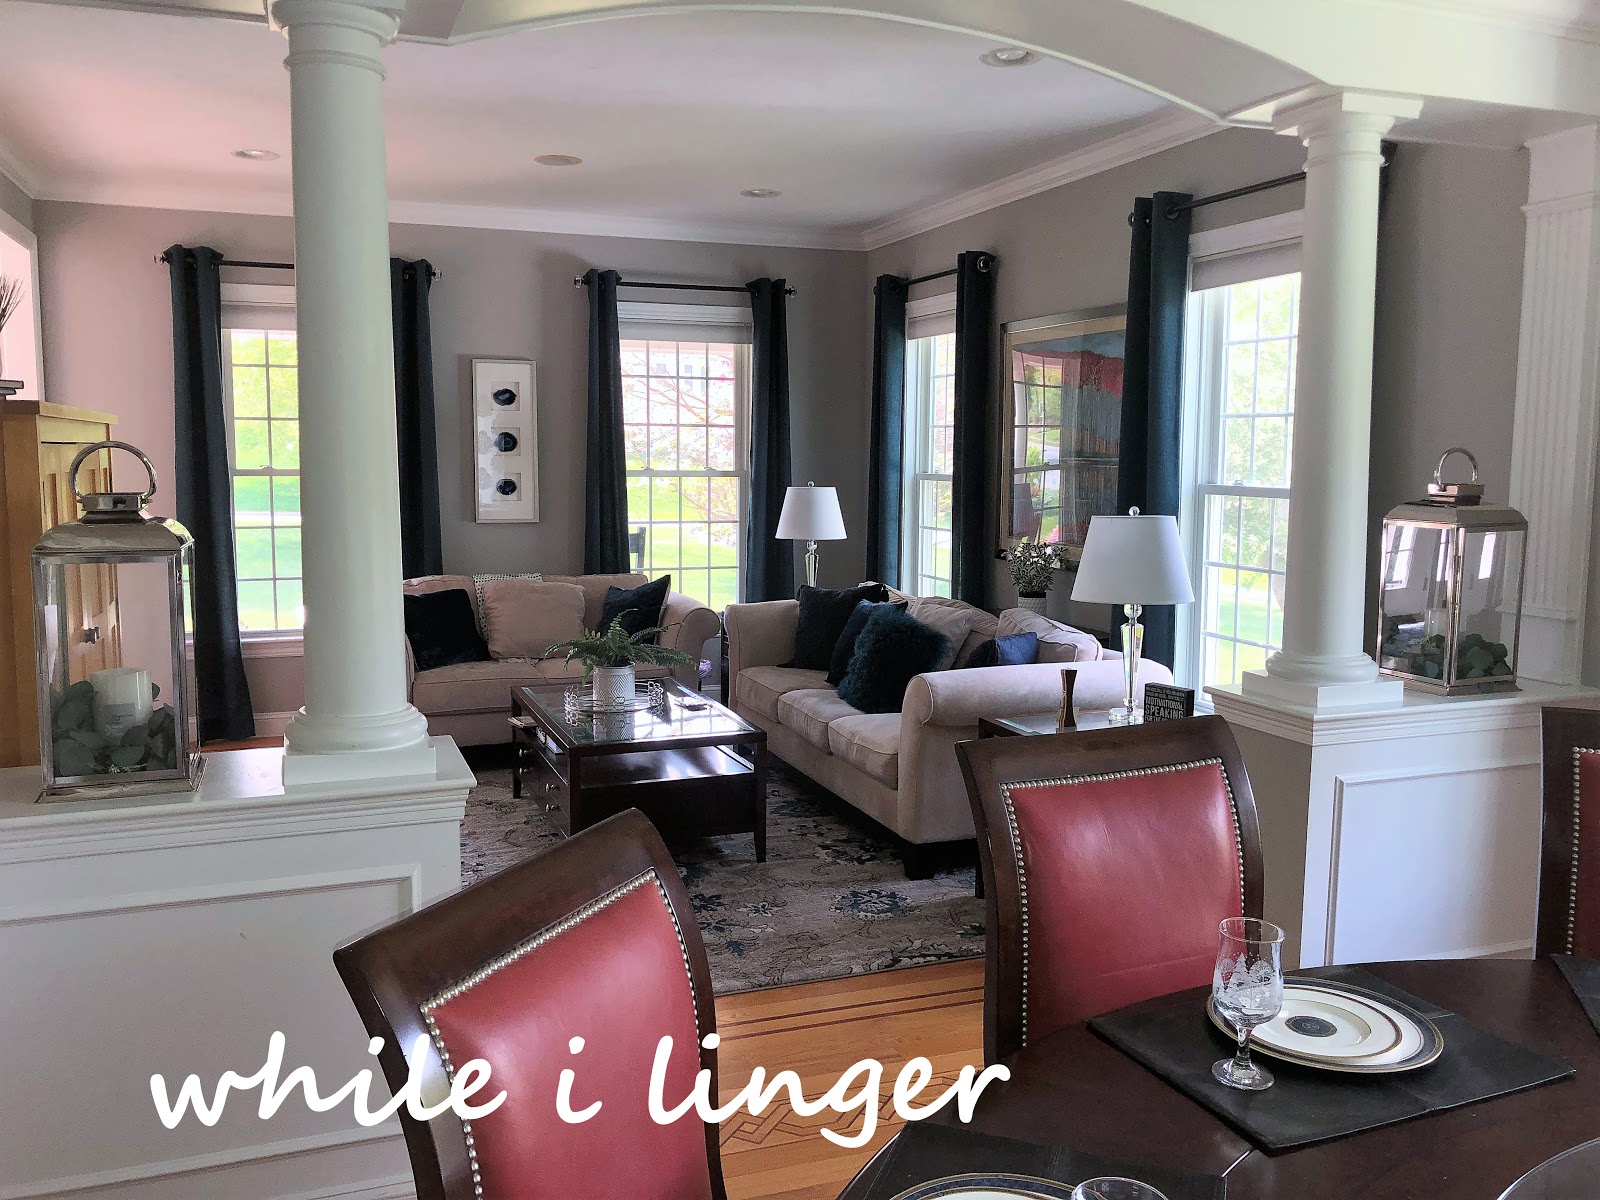
An arrangement on top of the cabinet insures that it does not revert back to a place that collects clutter. The wall piece was purchased at Pier 1, as was the floral branch.

We tried it before painting the room:


And after:


Home Goods and Target proved, once again as good resources to curate a coffee table arrangement.


Back to curtains... We decided to pull a bold pop of color from the painting and rug. We purchased solid colored panels in teal. The panels were on clearance but there were only 4 panels left! .... The windows already have nice honeycomb blinds and this room really doesn't have privacy issues so my homeowner (she sews) split each panel down the middle and finished the edges. We hung them in a stationary position as far out on the windows as possible to allow for light and make the windows appear larger. When privacy or light filtering is needed they can just pull the blinds. I love how this turned out, there is not a bunch of fabric taking up precious wall space. Sometimes, in rooms with many windows the curtains can take up valuable wall space or at least make it feel over-dressed. In this case it is good proportion of color in the space.


Just a hint of the dining room. We will move there next! Sign up for emails to make sure you don't miss anything or follow along on Facebook or Instagram. 

So glad you could spend time with me! 

Jolena

Linking Up


Friday, May 10, 2019

BBQ Shack

Spring is in full swing here in New England. The gardens are coming alive with color and the trees are loaded with beautiful little pollen-bearing buds.


This is the time of the year when I really start getting anxious about being outside but there is just not enough for me to do yet and I don't like being cold or wet; we've had a lot of rain. What's a girl to do then?


Me, I am a planner. What kind of fun things can we be doing when the weather gets warmer? I can come up with a hundred things to do and barbecues are always on the list. Mister loves to make ribs and pulled pork, beer can chicken and bacon wrapped stuffed jalapenos. Last year we decided we should have something a little more permanent for his equipment which includes a Smokey Joe, Weber charcoal grill, Weber gas grill and a Weber smoker, chimney starters, and all the accoutrements. (No, we are not being sponsored by Weber...Weber call me!) In years past the grills and smoker just sat behind the house and got moved around as needed. The miscellaneous paraphernalia was taking up valuable space in my kitchen.

Our youngest graduated last year and the party at our house afterward convinced us both that it was time to make some changes.

If you're longing for summer months or maybe starting to plan some of your own projects perhaps this will inspire you.

Mister is not a planner. He jumps in once he's decided that he is going to do a project. Because of that I often do not get the beginning photos.

First we had to clear some ground. (Actually, there was no "we" involved in that-it was all Mister.) To be totally honest, mainly...I just took pictures.) This was totally his baby.

There is a small cluster of trees right next to where we decided our shack should be so clearing away roots and leveling out the ground was a rough job. I was not home for that so there are no pictures. Mister purchased a bunch of 12x12" cement squares for the floor/pad. Not gonna lie, it is hard work and I was glad that it was not me doing it!


He dug holes with a post hole digger and inserted 4x4" posts, cementing them in with quick set. (Ok, this is where I helped! I held the posts plumb while he poured the quick set.) He framed out the top, giving the roof an angle that sloped away from the house. (I held one end while he screwed in the other. Could have done it without me but would have required and extra step.)


I helped Mister put the corrugated metal roof on top and that was about the extent of my input here. (I prefer to think that my design abilities were invaluable in this process- more so than my physical assistance.)

To protect the grills from snow and weather a knee wall was built on three sides.


Slatted walls on two sides provide room to hang pots, bbq decor and necessities.


There's that BBQ sign I made for him. You can find the instructions here.
A coat (or 3) of white paint opaque white stain (mister corrected me) on the outside make it look nice and clean.


Mister used some left over corrugated metal from the roof to slide behind the gas grill to act as a heat shield.


And that's about it so it's time to eat. First thing we made was not so exciting; just burgers.


And, because we try to keep it keto (low carbs) this is how I like my burgers these days.


We grill year round and this has served us well. And, after looking at all these photos and that burger I am desiring, even more, the lazy days of summer.

Thanks for stopping by and visiting with me. Oh, and let me know if you decide to build one of your own!

I would love for you to follow along. Please subscribe or sign up for email notifications for future posts. You'll find them in the bar to the right.

                                                                 Have a great summer!

                                   Jolena 

Linking this post to these parties:
Chic On A Shoestring, Shabby Art Boutique, The Cottage Market, Life With Lorelai. Pieced Pastimes, Blue Sky At Home, The Pin Junkie, Finding Silver Pennies, I Should Be Mopping The Floor, Skip To My Lou, My Uncommon Slice of Suburbia, Create With Joy, Lou Lou Girls, The How to Home, The Dedicated House, Our Home Away From Home, Celebrate & Decorate, A Stroll Thru Life, DIY By Design, Katherine's Corner, Imparting Grace, A Delightsome Life, Life With Lorelai,