Thursday, February 22, 2018

Hunting For The Right Color

So, you want to paint a room in your house. You grab your keys and run off to the hardware store, paint store, or home improvement store all excited. You get the perfect parking space...this is gonna be great! "Good morning!", sings the happy sales associate! Yup, a great start! You round the corner and... (enter screeching brakes sound here).

You are met with a wall of about a bazillion different colors and everything stops. How many shades of warm gray can there be?! And then I get distracted by all the beautiful colors!
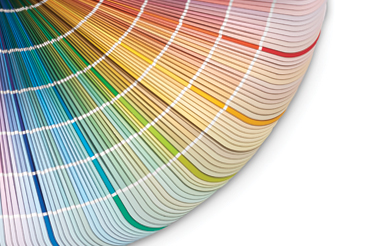

Image result for sherwin williams paint sample wall
                                                    Photo credit: Sherwin Williams

Ok, think! You know a general idea of the color but exactly which one is going to work in your home? Can you see the room from other rooms, what color is the trim going to be. Are you working with an existing trim color? Oh, and what was that color?

Does any of this sound familiar? It happened to me so often that I decided I needed to carry my existing colors with me. I am not talking about all those paper squares. In my pocketbook they would get mangled and would be rendered useless in a matter of a couple weeks and who wants to shuffle through colors in store while holding your keys, phone and coffee? Maybe it's me.

Here is my solution for this problem. Most of the pictures were taken with my phone so be kind.

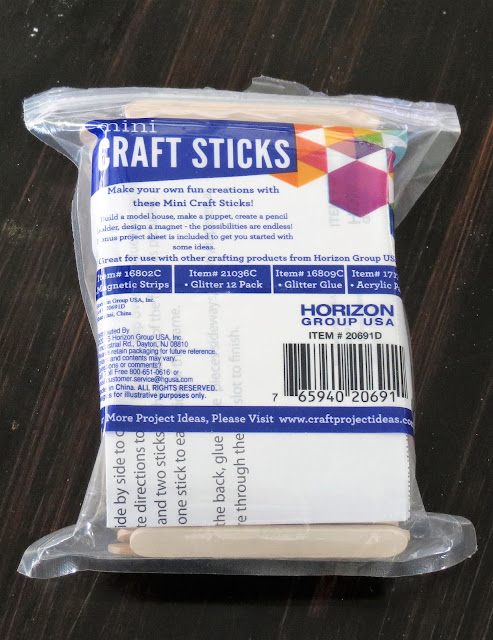
I bought some mini popsicle sticks.


I went to my basement and gathered all the mostly-empty cans of paint that were used to color my walls and brought them upstairs. (In a perfect world I will do this each time I get a new paint color... but we all know how that goes.) I painted each stick a different color and let them dry. I gave each one a second coat; important when painting to make sure the coverage and depth of color is there.


When the sticks were dry I labeled each one on one side with the brand, color and sheen. (All my wall colors are in eggshell finish so I skipped that step on most of them.)


Next drill a hole in one end.


Feed each stick onto a key ring.


Now, you can attach it to your key ring or just keep it in your purse or car. You will always have your home colors with you whether you are shopping for more paint, drapes, bedding, furniture or accessories.


My colors are the size of a key, easily accessible and always with me. This is a super easy project and it is a tool of immeasurable worth for those who are always on the hunt for the right color.

Linking parties:
French Country Cottage, Remodelaholic, The Cottage Market, Shabby Art Boutique, Olives-n-Okra, The Boondocks Blog, Chic On A Shoestring, Pieced Pastimes, One More Time Events, Diy Showoff,, Nifty Thrifty Things, Life On Lakeshore Drive, Ducks n'a Row, My Pinterventures, I Should Be Mopping The Floor, Skip To My Lou, Plucky's Second Thought, Angie The Freckled Rose, Cedar Hill Farmhouse, Flamingo Toes, The How To HOme, Home Stories A To Z, Celebrate & Decorate, Our Home Away From Home, The Dedicated House, A Stroll Thru Life, Tip Junkie, April J Harris, The DIY Dreamer, Savvy Southern Style, Gingersnap Crafts, DIY By Design, My Thrift Store Addiction, Imparting Grace, The Charm of Home, Katherine's Corner, The Vintage Nest, The Pin Junkie, A Delightsome Life , Life With Lorelai

Friday, February 9, 2018

Attractive Magnet Attraction

Recently, while avoiding housework, I came across a blog post with the prettiest little magnets. I immediately commented that I was totally gonna make some! For the life of me I cannot find that post now. If I find it I will update this post. **


I went, with coupon in hand, to my local craft store and came home with a spring flower bunch. Not crazy expensive but pretty; I paid $5. I picked one that had different sized flowers in it. I didn't want to them all be the same. A package of magnet buttons finished my purchase for a grand total of $7.


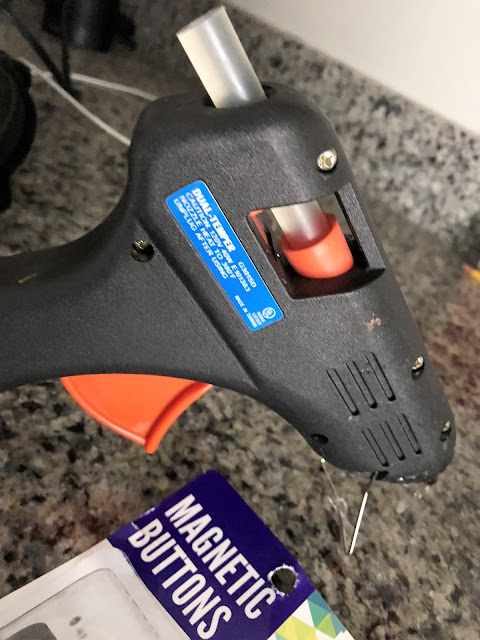
With scissors in hand, cut off leaves that will be the base for my flowers. Some of the leaves I trimmed down a bit so they weren't so big. Put a dab of hot glue on the magnet and attach your leaf. (My hot glue gun is ancient so I am always careful to not burn my skin off when attaching things!)


I cut the blooms off the bunch that I wanted to make into magnets.


You want the flower to sit flat on the leaf secured to the magnet so you have to cut the base off. I cut them one at a time and glued them. The will fall apart without the base securing them so cut then glue right away.


That's it! Easy right?!?!


I am using them during Valentine's on my magnetic chalkboard but I think I will be using them far into Spring and possibly Summer. Stay tuned to see where/how they show up next!


Thanks for stopping by today! 
Jolena

** Update: Found the original project at Kreativ K

Linking up to these parties!
Life With Lorelai, French Country Cottage, Shabby Art Boutique, The Cottage Market, The DIY Village, The Boondocks Blog, Ms. Toody Goo Shoes, Pieced Pastimes, One More Time Events, Finding Silver Pennies, Life On Lakeshore Drive, DIY Showoff, Nifty Thrifty Things, The Painted Hinge, Coastal Charm, I Should Be Mopping The Floor, Skip To My Lou, Plucky's Second Thought, Mad In Crafts, The Dedicated House, Our Home Away From Home, Cedar Hill Farmhouse, Cupcakes & Crinoline, Home Stories AtoZ, Lou Lou Girls, Celebrate & Decorate, A Stroll Thru Life, April J. Harris, Savvy Southern Style, Gingersnap Crafts, DIY By Design, My Repurposed Life, The Vintage Nest, The Pin Junkie, A Delightsome Life, Imparting Grace, The Charm of Home, Katherine's Corner, Up To Date Interiors, Our Hopeful Home, Our Mini Family Olives-n-Okra, Chic On A Shoestring

Friday, February 2, 2018

Decorating for Valentine's Day

With the passing of January my winter decorations are put away and I pulled out some things for Valentine's Day. I don't own a lot of decorations for this holiday and it is such a short time period so I usually don't do much. I decided to start in the living room this year.

I moved my picture of Paris to the hutch top in the living room; Paris is known as the "City of Love",  after all. I purchased the drawing in 1981 while on a trip to Paris with my parents. We had visited the artist's market a few streets away from Montmartre's Basilica of the Sacre' Coeur and this pen and ink drawing was all I could afford. I have loved this drawing since I bought it and have never regretted the purchase.

I felt the need for some color and thought the bridge needed a garland to dress it up for the holiday.


I went to the hardware store and grabbed a couple pink paint sample papers. Using a paper punch I cut a bunch of dots in different shades of pink and mixed in some red ones. Here is the tedious part... I lined up the itty-bitty dots in the pattern I wanted. When I was happy with that I had to turn them all over... itty-bitty little things are hard to get hold of! I then eye-balled the length of a piece of string and dipped it into glue, saturating the string. Now, stretching the string out, I laid it upon the dots and let it dry. Ta-da! A garland! I secured it to the glass using glue dots from the craft store. I had everything on hand so for me this was a free project! Sweet!


I cut hearts from some of the paint sample cards I picked up and secured them to a piece of twine with tiny clothes-line pins.


And sprinkled hearts in different places as needed.


The kitchen did not escape some Valentine decorating. My chalkboard reclaimed its rightful place after serving me well in the living room during the Christmas holidays.  After finishing my chalk art on the board I realized it was too small and a little off center. I truly contemplated erasing it and starting over... for about 3 seconds. It's only for a couple weeks and then it will be gone so... it''ll be fine... right?


These pretty little flowers are actually magnets I made! Yes, my chalkboard is magnetic. You can see how I managed that at this post: Chalkboard DIY. I will share details on the magnets with you soon. 


The cow I purchased at Vintage Prairie Home got a magnet flower, too!


I'm not crazy overdone for Valentine's Day but enough that we are celebrating the gift of love and family. Mister proposed 22 years ago in honor of Valentine's Day and I will forever connect that gift with the love the Father has shown me; for if he gave his only Son for me would he not also give me everything I need? ... Including a godly man to care for me and lead me?  Of course, I am paraphrasing... this is what it actually says,,

 "He who did not spare his own Son but gave him up for us all, how will he not also with him graciously give us all things? " Romans 8:32

These decorations will be up only a few short weeks and though I do not know what those weeks will bring I do trust the the Lord knows and that he will give us everything that we need for the journey. 

Next stop is Spring! Who's counting down with me?!

Linking to Parties
French Country Cottage, Chic On A Shoestring, The Cottage Market, Life With Lorelai, The Boondocks Blog, Shabby Art Boutique, Ms Toody Goo Shoes, Pieced Pastimes, One More Time Events, Ducks n a Row, Finding Silver Pennies, DIY Show Off, Life On Lakeshore Drive, Coastal Charm, I Should Be Mopping The Floor, Skip To My Lou, Plucky's Second Thought, The Dedicated House, The Stone Gable, Celebrate & Decorate, Our Home Away From Home, Itsy Bits & Pieces, Cupcakes & Crinoline, A Stroll Thru Life, The DIY Dreamer, April J. Harris, Savvy Southern Style, Gingersnap Crafts, DIY By Design, The Vintage Nest, Jann Olson, A Delightsome Life, Katherine's Corner, Imparting Grace, The Pin Junkie, Our Hopeful Home, Up To Date Interiors, Common GroundThe Charm of Home