Wednesday, November 23, 2016

A Little Christmas Inspiration

It seems that everyone in Bloggerville has said good-bye to Autumn and jumped right into Christmas. Retail and decorating are always ahead of everybody else...then there is me. My home is a hodge-podge of shopping bags right now as I am working on a project for someone else. My brain has been in Christmas mode for weeks because of it but I am still living in fall decor.

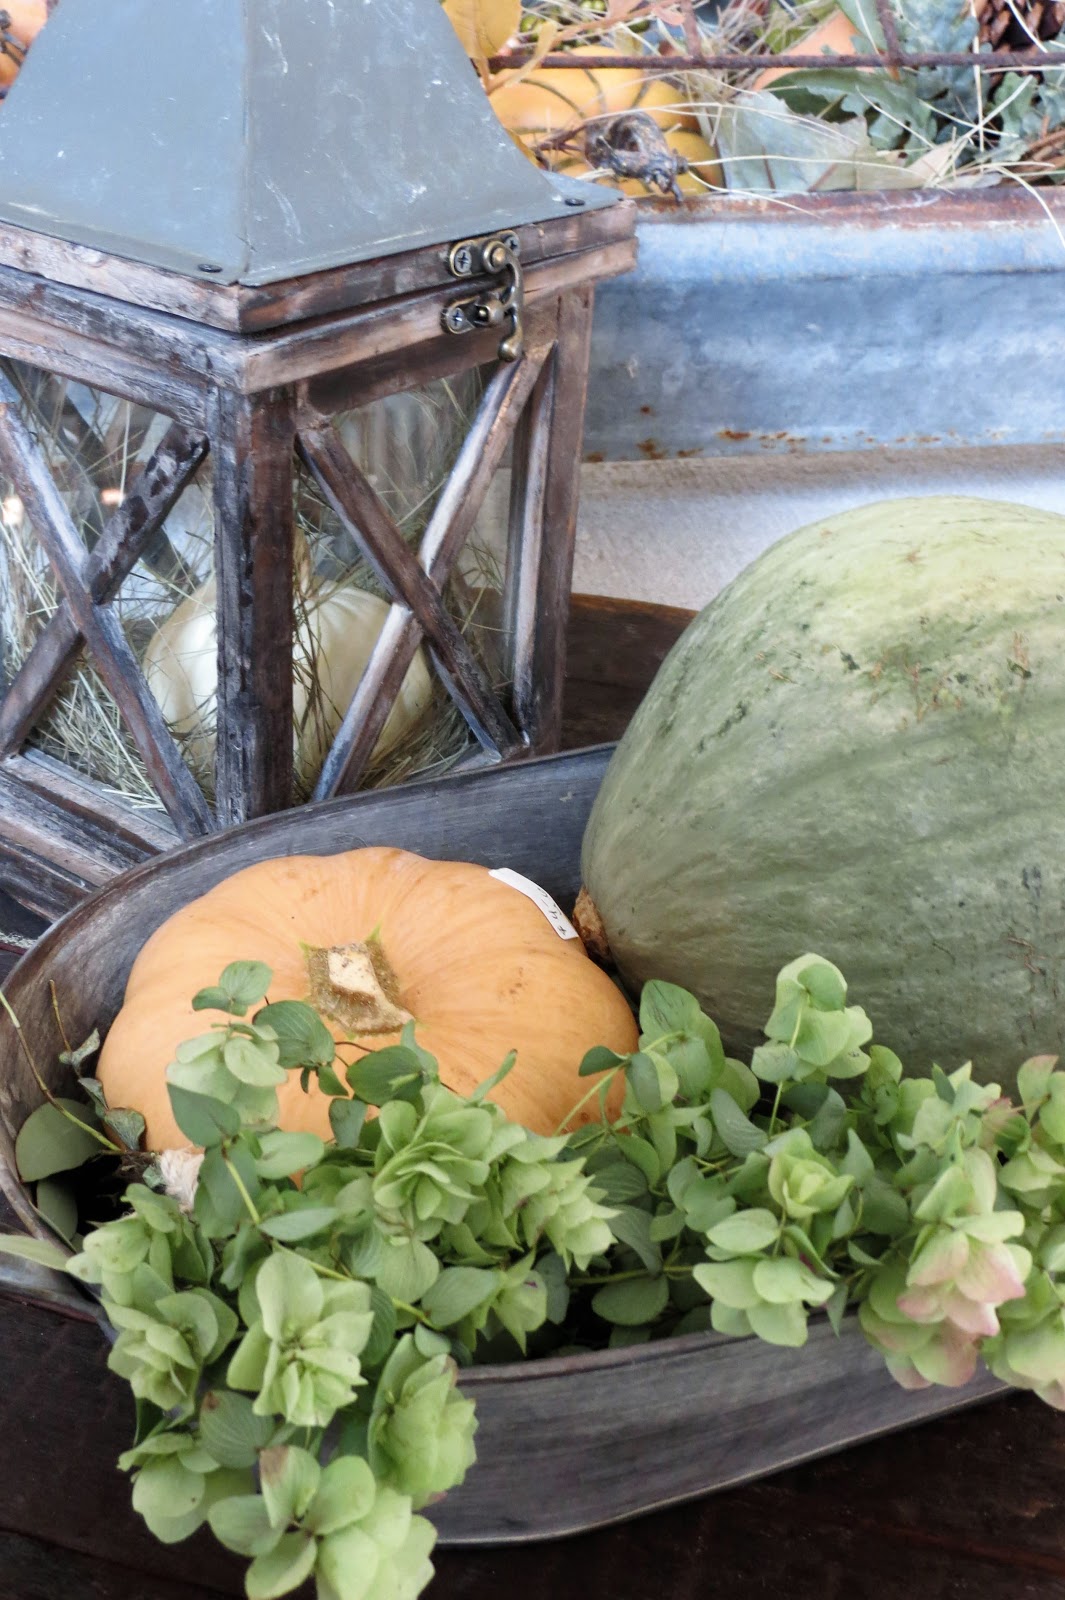
Of course, the shops and markets are ahead of me and full of inspiration. I thought I would share some photos for inspiration this week. After you have stuffed yourself turkey, cleaned all the china and put it away maybe you want to just look at some pretty stuff and get some ideas for your Christmas home. Go grab some pie or a cup of tea and relax a bit.


I am totally crushing on this nesting box. I took about 2 dozens photos of it! 


There you have it. Are you inspired? I am-all over again. What decorating idea are you going ot implement in your home...or, maybe you just enjoyed the trip. And, maybe it's time for another piece of that pie...

Thanks to Vintage Thymes Monthly Market and Vintage Prairie Home for allowing me to come in 
with my camera. 


*This post was not a compensated for. The pictures and opinions are my own. 

Linking up: 

Monday, November 21, 2016

Semi-DIY Burlap Banner

Like a lot of bloggers, I use different social media venues to promote the blog. I have been posting to Home Talk for a while now and am always amazed at the many comments and questions. The feed back is positive and encouraging.

Recently, I posted a shortened version of the The DIY Sharpie Art post to Home Talk. I was overwhelmed by the responses and shocked when one woman asked about my burlap banner. I tend to take for granted the simplest things. I look at the banner and think, "Ha! I cheated on that one!" The burlap was pre-made, I just did some zshooshing. (Is that a word?)


Not everyone thinks the way that I do, though. Here is how I did it. I found this pre-made burlap banner in the dollar section at Target over a year ago. I think I paid $5 for it, maybe...  If you can't find one or want to customize the size you can use scrapbook burlap and make your own template. They can be found on Amazon, Oriental Trading Co, and in craft stores.


Using my pre-made banner as my guide I traced around it onto a piece of card stock. I cut my card stock about 1/2 smaller than my trace lines all the way around.


I used this smaller triangle to trace around for my book page triangles. Next, I typed out the word on a document on my computer, playing with fonts until I found one I liked. I have no pictures of this step but I penciled my letters freehand onto the page triangles and when satisfied with the results went back over them with a Sharpie pen. You could blow up the font size and trace it like I did with the DIY Sharpie Art...


Now, this could have been even easier., but I don't usually have bright ideas until I have done it the hard way first. If you want to, just purchase felt letters or scrapbook letters and apply or print letters onto your pages using your printer before cutting out your triangles.


I then attached the paper triangles to the banner with Loctite  Mounting Putty. Nothing too permanent for this girl.  I wanted to be able to change it up.


And, there you have it. Easy, relatively inexpensive, and easy to change based on the season! I know, everyone is on to Christmas... And it is just about time to change it up .....Happy decorating!

Linking up to these Parties!
The Dedicated House, A Stroll Thru Life, The DiY Dreamer, Our Home Away From Home, Savvy Southern Style, My Repurposed Life, Creatively Homemade, Redo It Yourself, The Boondocks Blog, Create With Joy, Nifty thrifty Things, Finding Silver Pennies, Pieced Pastimes, One More Time Events

Sunday, November 6, 2016

Fall Markets; Shopping and "Stuffs" 2016

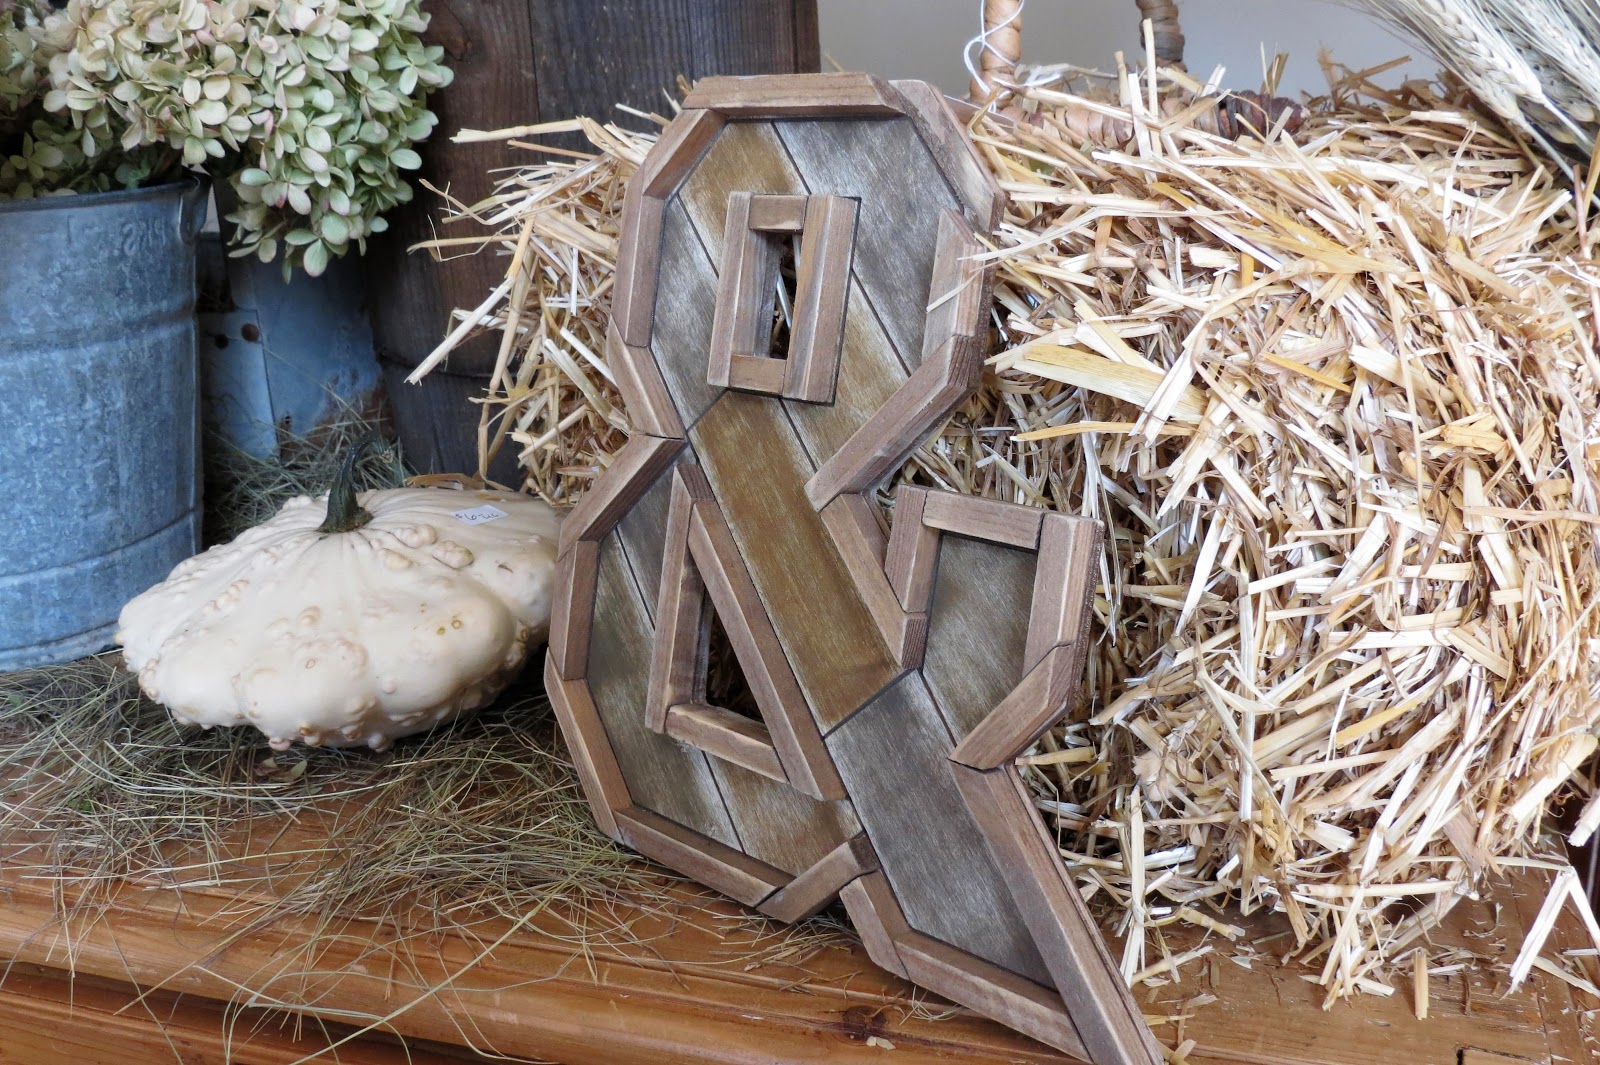
It has been a while since I shared with you some of my shopping excursions. In my area monthly markets are a thing. Do you have them in your area? The shops are closed all month long while the owners and vendors are picking and primping and it all comes together for one lovely three day weekend sale. They are usually themed. I have shared several of them with you in past posts but have been a bit behind my game. So, get your pinning finger ready!

First stop is a new pop-up that happens once a month in Clinton, MA. The Vintage Prairie Home holds their monthly market in a old mill building that houses other shops that also open to the public for the long weekend. 


                              Betsy, from Vignette Home Designwas their guest vendor and oh, does 
                                                            she do beautiful work! 


                                                                           Clever!


The Old Sterling Candle Company is upstairs. I love my cinnamon sugar candle! 


Next up is Vintage Thymes. The name may be familiar if you have spent time with me before but these photos were from their Marketplace at Adam's Farm.  They had an event their last year and it was a huge success. This year was even better! Danielle from Finding Silver Pennies did a paint demonstration for those who attended on Sunday.


An old piece of luggage pointed the way.... to the bathroom! 


I did some buying, some gift shopping, and some idea gathering. My camera was constantly on! Mostly, I was inspired and amazed at all the talent and all the out-of-the-box thinking others can do. Now, I need to go make something, paint something, or well....just do something creative. Hope you were inspired, too!

**This post was in no way, shape, form or fashion compensated or solicited. I just enjoy going to the markets, getting ideas, a few treasures and tons of inspiration and, of course, I enjoy sharing the fun with you!

Party Time!~,
The Blissful Bee, DIY By Design, Ducks n' A Row, Savvy Southern Style, The Newlywed Pilgrimage, Have A Daily Cup of Mrs. Olson, Katherine's Corner, The Vintage Nest, My Repurposed Life, A Delightsome Life, McCall Manor, Imparting Grace, Joyful Homemaking, Up To Date Interiors, Poofing the Pillows, The Charm Bracelet Diva, The Charm of Home, Life With Lorelai, Shoestring Elegance, Olives-n-Okra, Chic On A Shoestring, French Country Cottage, Shabby Art Boutique, The Cottage Market, The DIY Village, My Christmas Journey, Creatively Homemade, Ms. Toody Goo Shoes, DIY Vintage Chic, The Blooming Homestead, One More Time Events, The Boondocks Blog, Finding Silver Pennies, Nifty Thrifty Things, Create With Joy, The Stonybrook House, Coastal Charm, I Should Be Mopping The Floor, Creatively Living, Cedar Hill Farmhouse, A stroll Thru Life, Our Home Away From Home, The Dedicated House, Celebrate and Decorate

Wednesday, November 2, 2016

DIY Art With A Sharpie

I needed a piece of fall oriented artwork for the hutch top in my living room. For over a year now I have been using a free printable piece to work from. Until now I have given them away as gifts but today, this one is for me.


I start with a printed piece. I found it on the internet years ago when searching "free printable pumpkins". You can find it here or go to my Pinterest account and in the Autumn board.

Now, I am going to talk about taping paper but it is not actually tape, it is Loctite blue mounting putty that I pick up from Staples. I use it everywhere. I attach it to back of frames to keep them straight on the wall, I use if for lightweight seasonal decorating. I have note cards with Scripture tacked all over the house. I use it to hang Christmas cards we receive each year. I always have it on hand. It can be reused as long as it is clean. It does not leave marks or stains on the walls and it doesn't damage photos that I use it on. Sometimes, on old pieces of paper it sticks and won't come off clean but that is rare.


Ok, so I enlarged the pumpkin image to fit what I wanted to do with it. I then "taped" it to the window. You can use a light box if you have one but I don't so the window does the trick for me. Next I taped a page from an old book I use for decorating and crafts over the top, positioning it where I wanted my image to show up.


Using a Sharpie, I traced the image onto the book page. Simple, right? Now, I realize I could have just printed this onto the book page using my printer but I did not want it to look that perfect.


You can leave your piece just like that, frame it and you're done....but I can't leave well enough alone so I added color. I have a set of chalks that I purchased from a Stampin Up party years and years ago (like 15+). Craft supply hoarder...not just a title-it's who I am. I accept it.


They work perfect for this? I use a paint brush and brush/scrub in my colors. The first time around leaves a light coloring.


You build color up with the chalks so you will want to go back in two or three times. It is very easy to blend colors with the chalks. Make sure to not smudge your work as you hand rests on the piece. Blow off any chalk dust periodically.


When you are happy with the color mat it and frame it.


I have done this on paper several times but my favorite is to do it on muslin.


I like the look of leaving in black and white but the chalks work very nice on the muslin. They blend beautifully into one another but you'll have to take my word on it for now.


And, there it is; easy-peasy and super cheap! I had the frames, matting, muslin, chalks and book pages. Free art=yippee!  If you try this project send me a picture of it! Oh! And if you haven't signed up to follow by email, please consider doing so. Thanks.

Party Time!
Savvy Southern Style, The Blissful Bee, Gingersnap Crafts, DIY By Design, Handy Man Crafty Woman, Ducks n' a Row, Lambert's Lately, Poofing the Pillows, Katherine's Corner, The Vintage Nest, Joyful Homaking, A Cup Of Mrs. Olson, A Delightsome Life, Up To Date Interiors, Charm Bracelet Diva, Imparting Grace, My Repurposed Life, The Charm of Home, The Pin Junkie, Shabby Art Boutique, French Country Cottage, McCall Manor, Creatively Homemade, Life With Lorelai, The Cottage Market, Olives-n-Okra, My Christmas Journey, Back 2 Simple Life, Chic On A Shoestring, DIY Vintage Chic, Ms. Toody Goo Shoes, Pieced Pastimes, One More Time Events, Finding Silver Pennies, Nifty Thrifty Things, The Boondocks Blog, Re Do It Yourself, The Chelsea Project, The Stonybrook House, The DIY Showoff, Create With Joy, I Should Be Mopping The Floor, Plucky's Second Thought, Strangers and Pilgrims On Earth, Coastal Charm, Creatively Living, Mad In Crafts, Cedar Hill Farmhouse, Flamingo Toes, Cupcakes and Crinoline, The Lou Lou Girls, Celebrate and Decorate, A Stroll Thru Life, Our Home Away From Home, A Bowl Full of Lemons, About A Chick, The DIY Dreamer, Beyond The Picket Fence, The Newlywed Pilgrimage, The Pin Junkie, Shoestring Elegance, The DIY Village, The Blooming Homestead, Skip to My Lou, The Dedicated House