Thursday, October 31, 2019

Fall Front Porch 2019

October flew by!

I always love decorating the front of our home. I see it as the first welcome our visitors receive and I want it to look like a place you just want to come in to. This time of the year as I drive past beautiful homes, I imagine life inside those homes filled with warm cups of tea or cider, the smell of gingerbread and candles a glow.

You probably don't live close but if you did that would be how I want our home to feel for you; kinda like a big welcoming hug.


Thanksgiving is four weeks away! I have so much to do between now and then! It seems I just get things set for the new season and it is time to change it all up again. I'm already thinking about Christmas decorations. If you're a home decor blogger or follow many of them you'll understand that I am behind...again. 

Oh well... I think I will grab a cup of tea and just enjoy the blustery weather outside and the glow of candles inside. 

Party Links:
Katherine's Corner, The Pin Junkie. Grammy's Grid, Life With Lorelai, Shabby Art Boutique, Happiness Is Homemade, Our Home Away From Home, The Dedicated House

Tuesday, October 15, 2019

Fall Fireplace Mantel

Autumn in New England is a beautiful thing. The air turns cooler, the leaves turn multiple shades of amber, topaz, crimson, and gold. Nights are chilly and brisk mornings clothe themselves with a frosty mantle. All these serve to beckon one to take refuge from the cold in front of a roaring fire, warming the toes and nose while enjoying all things cozy and snuggly.


This year, thanks to my faux fireplace (tutorial here) , I get to enjoy at least the thought of that if not the actual warmth of a fire.

A wool garland,  purchased at Home Goods, was doubled over and attached to the mantel using cup hooks I screwed in underneath the mantel top.


Faux Chinese Lantern flowers were placed in a black basket and a black framed mirror were place atop the mantel along with some velvet pumpkins collected in years past. I reused a boxwood wreath from another room in the house. A strand of warm lights and a candle finish off the mantel dressing.


A favorite set of placemats sit on our dining table, holding chargers and simple white plates. Orange plaid napkins are adorned with clear and gold beaded napkin rings. Each place setting is accompanied by gold plated utensils and marmalade colored water glasses (actually, they're plastic from the dollar store).


Down the center I placed a table runner in creamsicle orange. I used my metal tray I purchased last fall. I filled it with pumpkins I had painted last year and reused the gold ones from a few years ago. A berry garland and pumpkin colored, battery-operated candles fill in the tray. Reuse what you have. Find different ways to reuse them or use them in different places than the previous year.


Sometimes you just want to do something different all together or perhaps you're just tired of the same ol',  same ol'. That is how I felt about some of my "primitive" fall decor and some of my burlap stuff so I sold them on a local site and used the money to buy a few things to freshen up my autumn displays. And sometimes something entirely new, like my fireplace, is just what the room needs.


Happy All-things-cozy, Happy Frosty-mornings-snuggly-throws, Happy Fall, Happy Autumn! Thanks for spending time here. I hope you found some inspiration or just grabbed a little "me time". 

                                                                         Jolena
Linking to these parties: 
The Dedicated House, Our Home Away From Home, The How To Home, My Uncommon Slice of Suburbia , Create With Joy, Home Stories A to Z, April J Harris, My Repurposed Life, Lou Lou Girls, My Wee Abode, Fluster Buster, Oh My Heartsie Girl, Across The Blvd, Zucchini Sisters, Follow The Yellow Brick Home, Love My Little Cottage , Ducks N'A Row, 2 Dishing Divas

Tuesday, October 1, 2019

Wood Sign Tutorial

Sometimes updating your decor can be a simple as going your the scrap wood pile. I wanted a sign to hang over a collection of pumpkins. I scoured the internet and fellow bloggers to find something I could settle on then decided to see what I could do on my own for no money, or at least only a little money.

I found a piece of scrap pine from my faux fireplace in the garage.

** I didn't do this next step first! I realized it only toward the end of the project. Don't wait, do it first.  I had not made sure that my wood was squared to begin with. Often when you buy a length of wood from the store you need to fresh cut the end to be sure that it is square before measuring out your piece. Turns out all was good-whew- but do this first!!

Using a piece of chalk and a ruler I measured out equal distances from the edges and then hand traced a semi-circle because I wanted my letters to make that shape on the bottom of the words but straight on the top.


I want my sign to read PUMPKIN PATCH. Counting letters and spaces, divide by 2 and that will give you your letter that should be in the center of your sign. I my case it was the letter N. I start with writing that letter first, in a VERY light pencil. I use pencil because I want to do this with a marker and it won't trace well over the chalk.  Continue writing letters out from the center. (You could use a stencil if you don't feel confident free-handing this step.)

Once the letters were spaced I decided I wanted to paint the wood! Yes, this is going to cover up my letters... I compromised and mixed paint and water, 50/50 and brushed it onto the wood. I could still see my pencil markings. Allow to dry.


I took a Sharpie Fine Point marker and my ruler and traced my pencil markings making sure to keep everything straight, use the top of your ruler or a t-square to keep your letters perfectly perpendicular to the top and bottom.


Next I used the Sharpie King Size to emphasize the down strokes. Following some of my limited calligraphy knowledge, I kept the pen angled at about 45 degrees to give me a chiseled edge on the top and bottom.

I did draw an arrow on the bottom, making sure to measure first to insure a level and well spaced placement. At this point I decided I wanted to frame my piece.

As a note of encouragement (and full disclosure), I did not master this the first time through but learned from my mistake and turned the wood over and worked on the other side. Worse case scenario, sand down your mistake and start again.

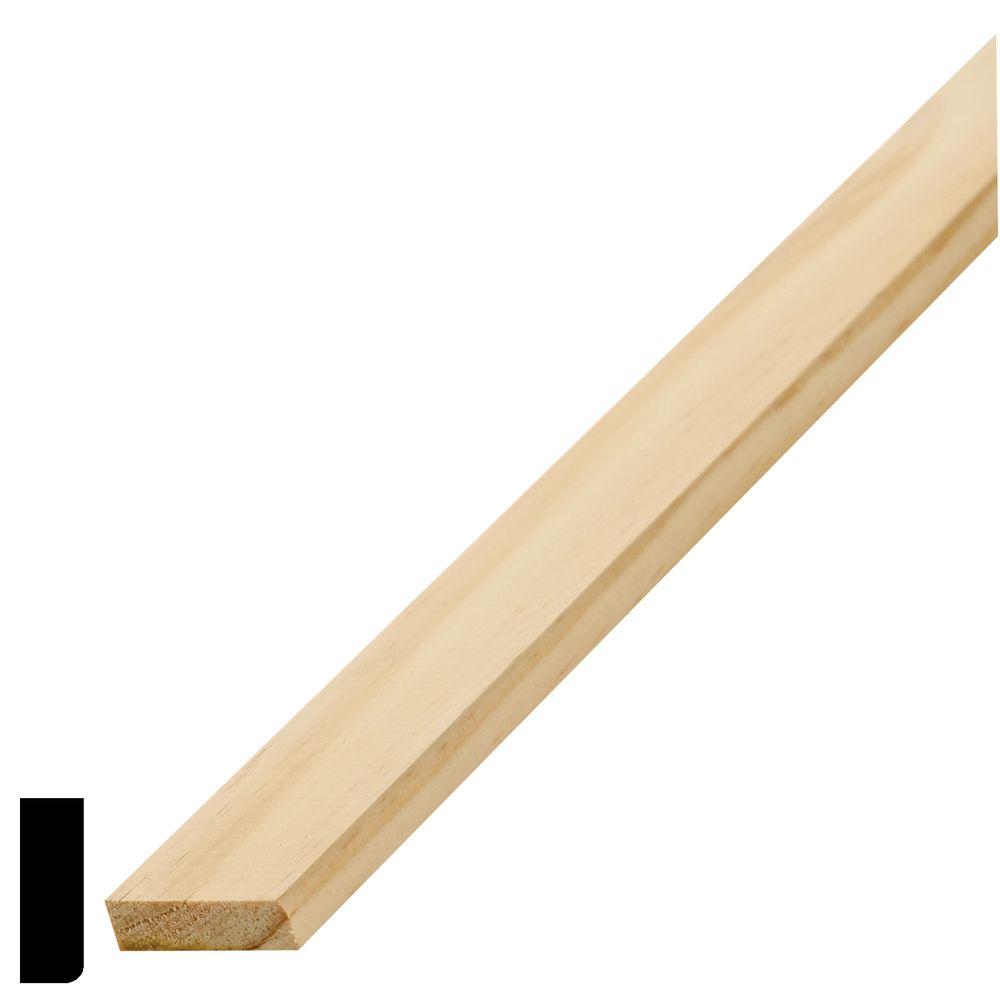
I picked up some thin trim wood, pine stop molding, for about $1 per foot. I needed about 8 feet for my piece. I'm not going to try to miter this stuff so I will cut the side pieces the exact size of the sign and the top and bottom long enough to cover the sign with the side pieces attached.

                                                           
                                                              Source

I used some stain I had on hand from other projects. The color I used was a weathered gray.

Once the pieces were dry I drilled very small holes (big enough for finish nails) in all the trim pieces, 4 in the top and bottom and 2 on either side. Using wood glue and finish nails I attached the trim pieces. I attached a hanger in the back and placed it in my pumpkin display.


Because I had much of the materials on hand this project cost me about $8. Not bad!

Linking Up!
Ducks N'A Row, Our Home Away From Home, DIY By Design, A Stroll Thru Life, My Repurposed Life, April J Harris, The How To Home, Fluster Buster, My Wee Abode, Across The Blvd, Home Stories A To Z, Grace For A Gypsy Katherine's Corner, Create With Joy, Imparting Grace, Life Beyond The Kitchen, French Ethereal , Oakhill Homestead, Our Hopeful Home, My Girlish Whims, Zucchini Sisters, Knick Of Time, Raggedy Bits, Life With Lorelai, Shabby Art Boutique, The Pin Junkie, The Cottage Market, Pieced Pastimes, Love My Little Cottage, Create With Joy, Lou Lou Girls, The Answer Is Choco, A Glimpse Inside Blog, Mad In Crafts, Finding Silver Pennies, Blue Sky At Home, The Dedicated House, Grammy's Grid, Follow The Yellow Brick Home, 2 Dishing Divas