Saturday, May 9, 2020

Another Gallery Wall Tutorial

I love gallery walls. They are not just for museums. They've been popular in decorating for a while. and there are as many versions as there are decorating styles. They all appeal to me depending on the applications. I my home I have a wall in my living room that incorporates many different items rather than just photos. You can find the instructional post on that here. And the shelf allows me to add seasonal changes.


Sometimes, you don't want a lot of things sticking out from the wall. I've used a series of prints to build a much more formal grouping. Below are the same set of prints framed differently but displayed in the same manner.


(Print Source)

In a series of posts from late 2018 til mid 2019 I documented a makeover of a friend's house. In my friend's family room there is a large stairway taking up one side of the room. The ceilings soar in beautiful room and opposite the stairway is a large Palladian window. The window accentuated the vast nakedness of the opposing wall and we wanted to do something about that.


I wanted this to be a less formal grouping as it is a part of the family room. Some grid paper and a pencil helped to form an idea of what I was trying to achieve.


We purchased three photo ledges (don't pay a lot) to anchor the space. I stair-stepped the ledges to mimic the stairs. Measure the space you want to fill and divide that number in half. (I use chalk to mark the walls, easy to clean off.)

To mount my ledges I found the center point of where I wanted to collection to hang. I measured the center of my middle ledge and marked it with chalk on the ledge. Line it up with your mark on the wall, check for level and screw into place. Next measure from that center mark to edge of your space and divide by 2 again. That will be the center point for the next ledge. I did that on both sides. My ledges were 48" long and that allowed them to overlap a bit. This is subjective and really up to you. Because it is a staircase wall I wanted to be able to see the photos from the floor so I made sure to hang them high enough to be seen over the railing.


Next, I had my friend gather all her photos, most were already framed. We decided to use colored photos vs. black and white because 1) this family has some beautiful red-haired members and 2) the cost to reproduce all the photos in black and white would have made the project expensive.

Now I could start hanging photos. There were a couple of larger photos that I wanted to use as anchors and because of that I worked those onto the wall first. From there it was a matter of sitting some on the ledge, hanging others both above and below the ledges. Finding the right sized frames was trial and error.


The first attempt still looked too stuffy to me and there were sooo.... many great photos. Just keep adding until you get the look you're after. Don't be afraid to move a photo if it doesn't fit right. Notice where the military photo, top right? It won't stay there. 


Once I got the photos and placement figured out I took down the frames that were different colors. I wanted one, cohesive color. Now, you can buy matching frames like in the previous photos but this is a big project and it would take a lot of money to do that. My solution was to set up my spray tent and spray paint all the frames that were different colors. Black allows the eye/mind a place to rest and allows the photos to tell the story. I like the idea of different finishes of the frames that were already black so I left them alone.

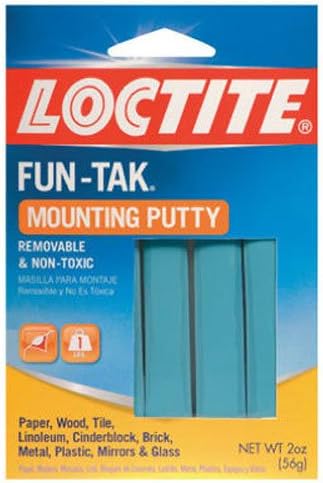
After I was happy with the placements I went back in with some poster tack and put a little behind the frames to keep them from shifting. This is a stairway and it will get much traffic. Trying to keep photos righted would be a full time job. This is what I use:


I found a large gold B, the families surname initial. I painted it black.


My friend found some words online that she wanted to incorporate into the mix. You can find similar metal cutouts from Hobby Lobby for a few dollars each.  If you don't want to spend money on that consider something like this from another friend's house a few years ago:


I used a piece of fabric and a Sharpie and framed it. Easy right? Handwriting isn't pretty? Print it out on the computer and put it under your fabric and copy or just frame the copy.

Paint was dry, photos were reinstalled and all that was left was to take final photos.


Again, my drawing...


And the final...


You could incorporate your children's artwork or family keepsakes like marriage licenses or diplomas. This project's will cost you less than $100 depending on where you get your picture ledges and how long they are. That price includes ledges, picture hangers, poster tack and spray paint. Additional costs would be the metal word signs.

 So, what do you think? Is there a wall in your house that could use a refresh? Why not try a gallery wall? Happy decorating.

Party Time:
Finding Silver Pennies, Our Home Away From Home, B4 and Afters, The Dedicated House , My Uncommon Slice Of Suburbia, Create With Joy, Lou Lou Girls, April J Harris, Ducks N'A Row, Katherine's Corner, Gingersnap Crafts, Life Beyond The Kitchen, The Pin Junkie

Wednesday, April 29, 2020

Seeing The Light


Mister and I took what is becoming an annual late winter trip to Texas. It is a three-fold trip. We first hit the Austin area to visit old friends from high school-and this time around we made some new friends!

High-school friend, Lady, and me in New Braunfels, TX

After a couple days we drove north to visit Chip and JoJo's wonderland! We perused Magnolia Market and picked up a healthy amount of cupcakes- like one of every flavor.


Then we headed another three hours north to visit with my dad and brother.

When we left for the trip this year we were just beginning to hear about CoVid19. Since then everything... plans, work, and life have come to a screeching halt. Everybody is home right now. We are six weeks into everybody being home. I have found myself overwhelmed by all I have seen on the news, in our country, in my state and local towns and grumbling at all the changes. Mister is home a lot now. I keep trying to distract myself-and him-with a lot of little things that have been needing to be done in our home.

One of the projects that we've talked about for years is to move a light over the stairs. Our stairs are treacherous! At least, that is how it seems to people who visit. The house is 200 years old this year-at least according to sign on the front of the house.


When the house was built 'codes' weren't a thing. The steps are short and the rise is not to today's standards but we have lived here for 17 years and we're used to them-mostly. Not gonna lie, there are sometimes when the steps just feel a little wonky, especially in the dark. Four years ago (!!!) Mister painted the stairs and walls for me. (You can see that here.)


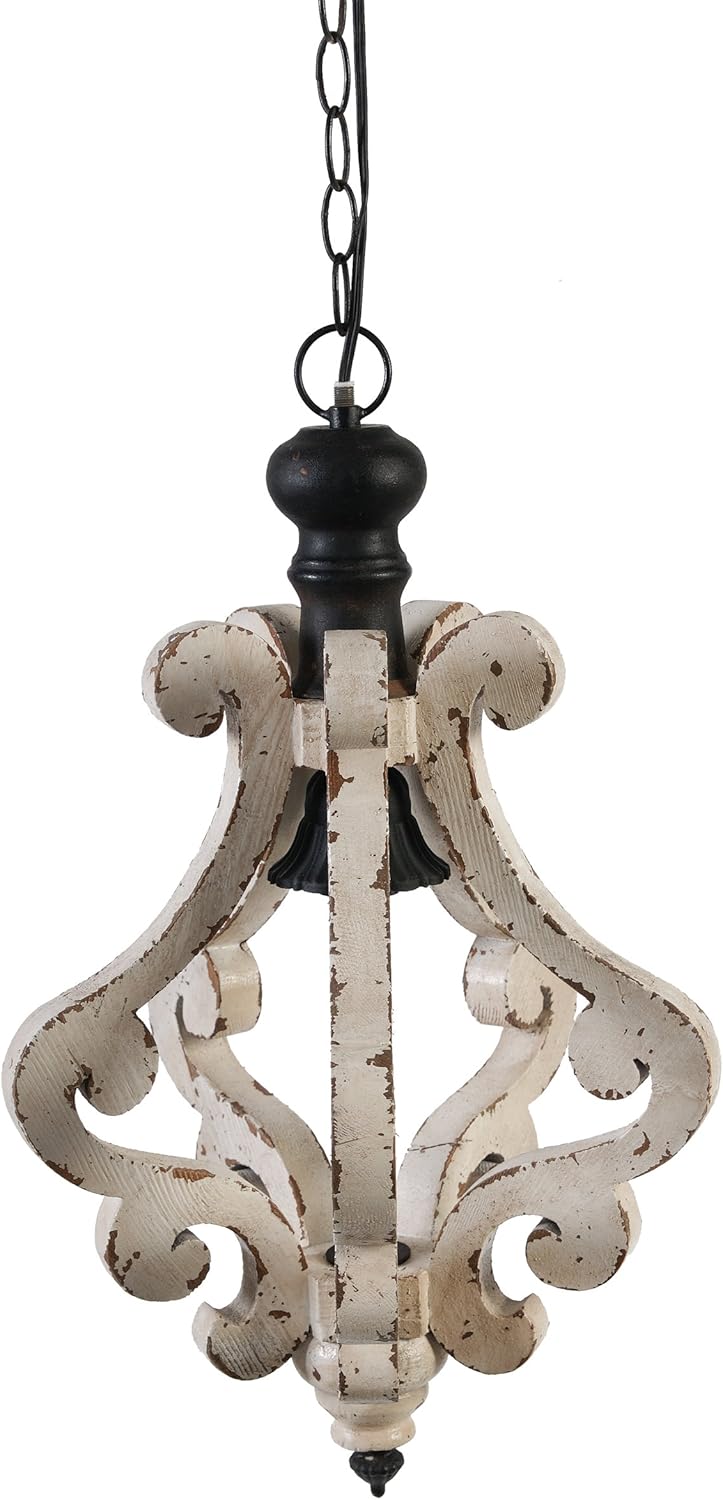
I purchased a light for the front room a few years ago and Mister has not liked it ever since. I love the light and for several years you could find it anywhere "farmhouse" decor was sold.

                                                            
                                                                                Source

Mister doesn't hate the light so much but rather the height it hangs at. Because it is over my desk area I am fine with it but since everything is feeling 'off ' in the world right now I am questioning everything and so I agreed to change it. But, I still love the light and Mister agreed to move it over the stairs! Seems like a perfect compromise to me.


Well, that is easier said than done but Mister is amazing (in my humble opinion) and did all the work for that which also meant that the attic got all straightened out! SA-WEET!

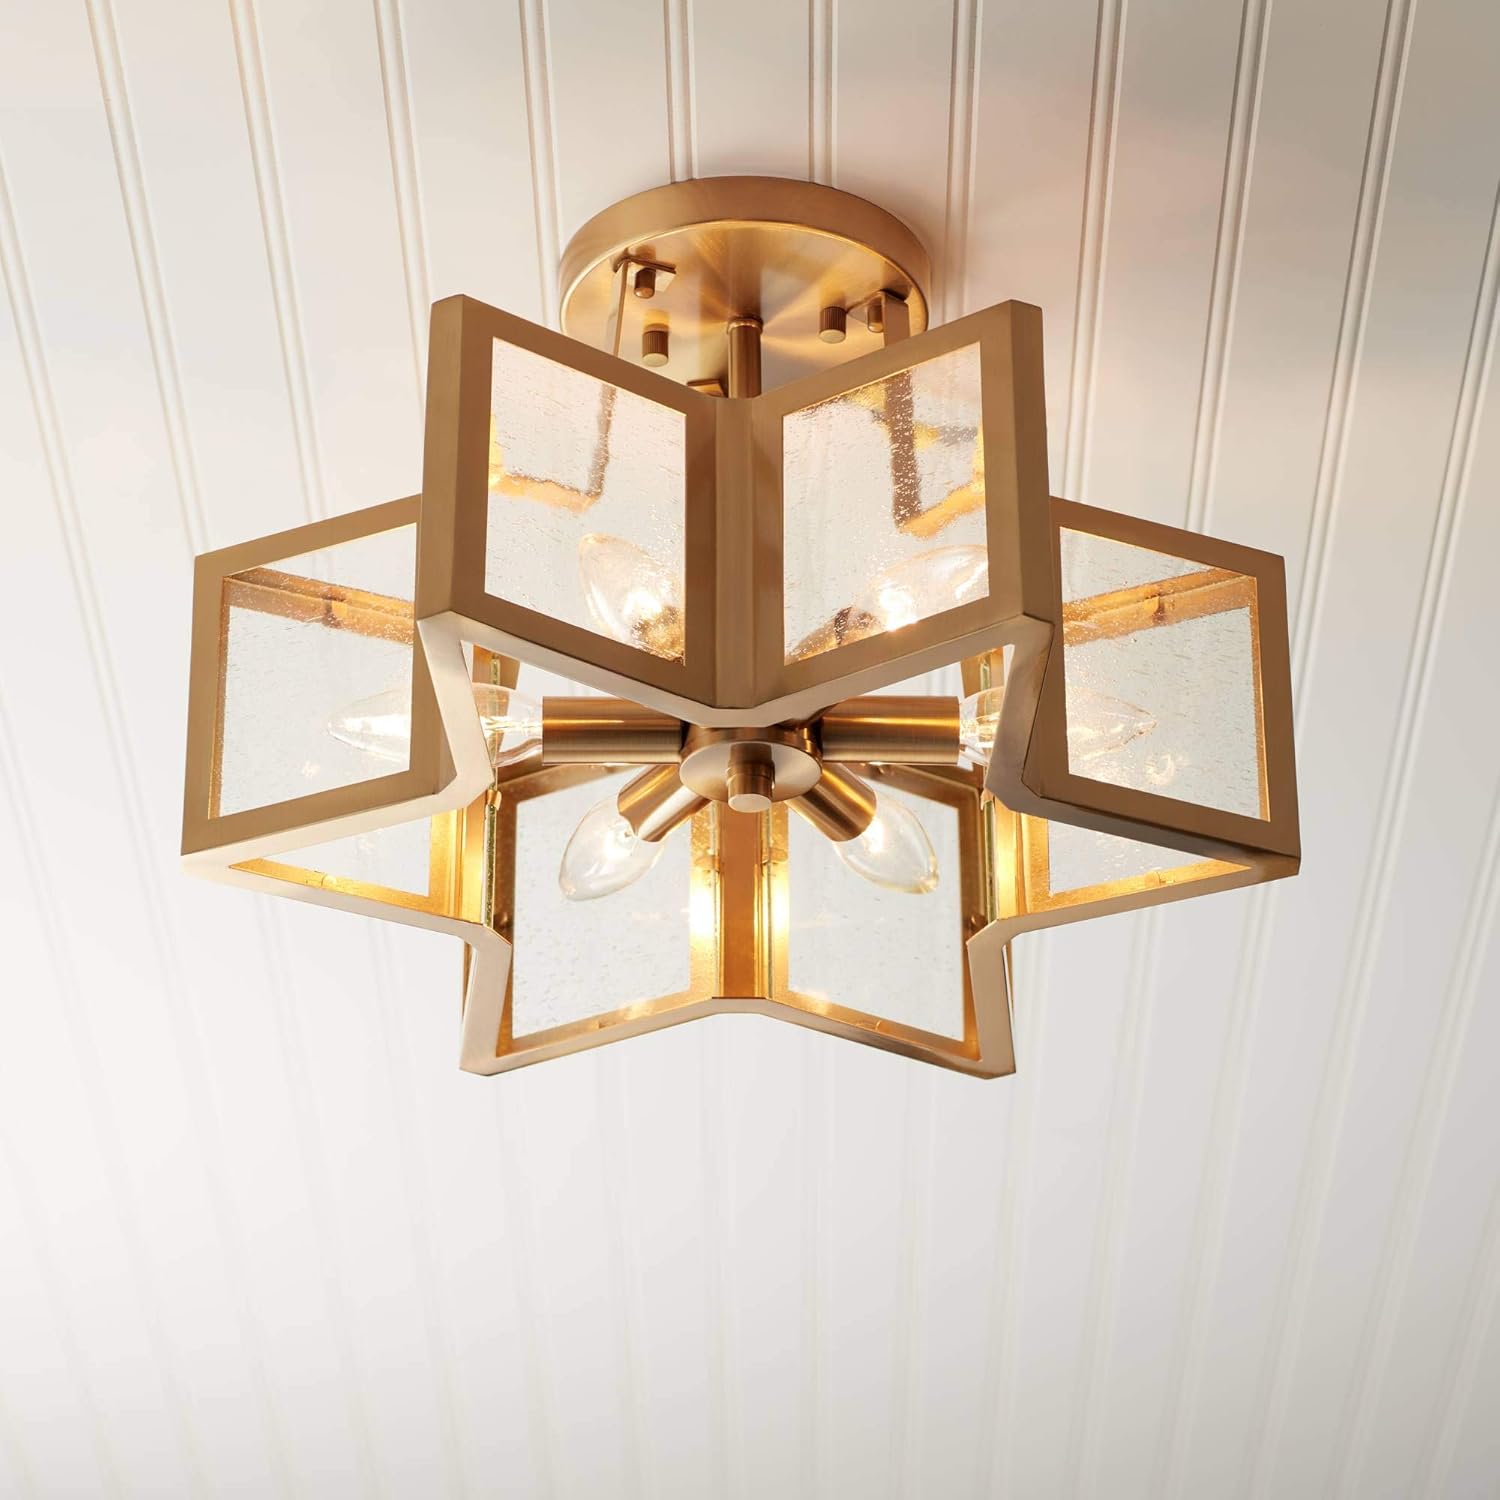
And.... since we took that light from over my "desk" (which is really a table my grandmother purchased in France after WWII) we had to get a new light for the room....

                                 
                                                                         Source

and...

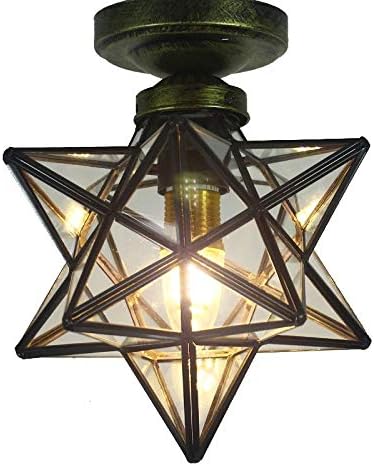
a new light for over the front door!

                                       
                                                                                  Source


And it all started with the stairs being lit up. Who knew?

I've been spending some of my quarantine time watching Rebecca Robeson videos. Her lighting choices are simply    S-T-U-N-N-I-N-G!

And, this is what I have learned about myself recently... I love lighting, beautiful lighting but I'm on a budget (wah-wah). That doesn't limit me as much as I thought it would. I do have a propensity for locating the most expensive thing available- "Champagne taste on beer budget", my mom used to say. But there are options and I think I have found some reasonable ones considering our limitations.

Back to me... So, I now recognize I have a thing for fabric, pottery, and lighting.

It didn't stop with the entry, stairs and front room. I just purchased another light for what has become my dressing room.... more on that later!


                                                                                 Source

What have you been up to? Projects, reading? Art? Teaching? Or, just trying to keep a sound mind with everyone home? My mom used to always say, "It won't always be like this." She was right.

Last week I met with my bible study group online. We had spent the time looking at Hannah's prayer in                    1 Samuel 2:1-10 as she poured her heart out in thanks to God for the gift of her son, Samuel. I could so intimately identify with Hannah's heart attitude in the previous chapter. She was well cared for and provided for by her husband, Elkanah. She lacked nothing. Elkanah abundantly provided for her because he loved her so much and yet for her it was not enough. She had her own idea of what it meant for her to be "complete"; happy and fulfilled. She wanted a child!

I know there are many women out there who can identify with Hannah. Every mom can identify with Hannah's later prayer that "for this child I have prayed". But what got me most is this... Hannah had a preconceived notion of what happiness looked like to her. All that had been provided for her was not enough-she wanted more and because she didn't have it she was visibly stricken, so much so that her husband asks her "Am I not enough?" (My paraphrase.) But God, -aren't those the MOST BEAUTIFUL words?- heard the pleas of her heart and answered her! Now, if someone said to me, "Hey, God heard your prayer and He will provide for you as you prayed", I may walk away a little encouraged but it wouldn't take long for doubt to creep back in and cause me to question and drag my feet. But not Hannah. We are told, "the woman went her way and ate, and her face was no longer sad." Oh. My. Goodness!

So, the light bulb went off in my dim brain. Have I been complaining in spite of all that God has provided for me? I'm tired of being in my house, tired of not seeing my friends, upset that I can't be at regular church meetings, painting class, and all the many other things I have been missing out on .... But, God has heard me! I am reminded that I have a home, our bills are being met, I have food (and toilet paper), I have friends and a church family to miss. God has provided for me, abundantly. Hopefully, when my heart is reacting rightly, I will look at the lighting in my house and remember this moment when I could see clearly; when I could recognize my natural bent to not be satisfied with all God has blessed me with. And reminded when the light of the gospel of Jesus Christ once again witnessed to my soul that because I am his my grumbling and discontentment can be repented of and forgiven. I too, like Hanna, can have a face that is no longer sad!

I think my mom had heard from God at some point in her life those precious words; "It won't always be like this." I believe her and more importantly, like Hannah, I believe God. Praying that you are seeing the same light; finding comfort and peace in the God of Hannah during these times.

Linking to these parties:
The Dedicated House, Our Home Away From Home, Blue Sky At Home

Monday, April 20, 2020

Garden Arbor Tutorial

At the onset of the CoVid19 lock down I knew I was in for some very rough days. My days were about to be invaded - full time. My family is going to be with me pretty much 24/7 and while I am a very sociable person the thought was totally overwhelming. All the projects that I always said I didn't have time for.... well, I wouldn't have that excuse anymore! Mostly, I was anxious for my husband who DOES NOT know how to be still. I knew he would be looking at project after project with expectations and a pace that I just couldn't and didn't want to keep up with. I've moved past that but in the beginning I needed to have something for him to do.

Fortunately, I had a few projects in mind that I had wanted to get done and I thought this one could occupy him for a few days.

After the garage was built we put in walkway from the driveway to the backyard using pavers and white stones. A year of so living with that taught us it was a bad idea. the stones never stayed put. We liked the cement pavers because they went with the what we used for the bbq shack in the back so we kept them and put down weed barrier and mulch with some dirt in  between. I made a concoction of buttermilk, moss and water and spread it in the cracks. (I will let you know if that works.) It has yet to grow.

And we built the arbor that spans the distance between the house and the garage. Here is how we did it:

1 bag of quick set cement
2 4x6x12' pressure treated posts
2 2x8x12' pressure treated pine
2 2x4x8' pressure treated pine cut to 2' lengths
Galvanized screws
Wood glue

Mister used a post hole digger to dig two holes for the 4x6x12 posts about 2 feet deep.


We bought 12' lengths knowing that we would be cutting some off the top once they were cemented in place. Using a level make sure they are plumb-straight, from two sides. Add the quick set and check your plumb, again. Add water. At this point we secured a strapping across the top to keep the posts in place, level/plumb.


We waited about 24 hours for the posts to set in the cement.

While we waited on those to set we got busy on the top, working in our garage. We measured the distance between the posts adding a few inches beyond each to really fill the span between the garage and house. I want a little detail on the outsides of the post.  I drew a simple design on a piece of card stock for our template for the crossbars and Mister cut them with a jigsaw out of the 2x8x12s. Nothing fancy here. This detail will sit beyond the posts on each side.


Next, we set up some sawhorses and placed our two top rails on them with a piece of scrap wood to space for the where the posts will be.


Now for the cross arms that will sit at the very top. (Not really sure what else to call them.) For these we cut the 2x4x8s into 2 foot lengths and later mitered each end. I measured making sure to keep an odd number of pieces (more appealing to the eye.) I landed on seven pieces. I marked the top of the crossbars for easy placement.


Mister wanted them to sit into the cross bars so he put them through several passes on the table saw making "teeth" that are easily removed with a hammer. (That was my job.)


Once they were cleaned up they sat down, hugging onto the crossbars.


Ready? Let's put this together!

Back outside! We removed the strapping the helped keep our posts plumb. We held up a crossbar at a height that seemed reasonable to us. The bottom of the crossbar is a little over 7 feet high. I wanted it to feel like you were walking into a separate "room" when you came through. The roof line of the house was factored in as well as the trim around the window. It all had to work together. If it went too high nobody would really notice it.

If you have extra hands you can just hold the crossbar or you can temporarily attach to posts. Make sure it is level, but sometimes level doesn't look right and slightly off makes more sense to the eye. Take your time, step back and look at it. Mark your posts where the top (you will notice in the picture that someone started cutting at the bottom) of where crossbars will sit. Remove your crossbar and cut off the excess post. Mister used a circular saw and it took two cuts, one on the front and one on the back to get through.


Attach the front crossbar, screwing and countersinking the screws from the back of the post into the crossbar. Attach the second crossbar onto the back of the posts, I didn't care if the screws show here. We used that previous piece of strapping to help us get both crossbars up and level with each other.


When the crossbars were mounted, one on the front of the posts and one on the back, you can start to place the small arbor arms. Mister lined up the arms with the marks I had made earlier and attached them from the top with galvanized screws.


*The "oops" cut got filled in with wood glue and a strategically placed screw allowed it to dry well and maintain integrity.


The arbor will get a few coats of white opaque stain when the wood has dried out enough. For now this is as far as it has gotten. I will update this post when the stain goes on.

So, what do you think? A good use of time? Here is the breakdown:

Time: 2 days
Skill level: Beginner, if you keep your cuts simple
Cost: $100
Worth: Priceless, as it kept Mister busy and is a great addition to the property.

**UPDATE
A couple coats of opaque white stain and some temporary pot fillers were added. Also, my attempt to grow moss with the buttermilk mixture did not take. I ended up transplanting some from another area in my yard.


Linking parties: Our Home Away From Home, The Dedicated House, Blue Sky At Home, My Uncommon Slice of Suburbia, Create With Joy, Lou Lou Girls, Grammy's Grid, Anything Goes, My Little Shop of Treasures, Across The Boulevard, April J Harris, Dabbling and Decorating, Ducks N A Row, Ginger Snap Crafts, Life Beyond The Kitchen, Katherine's Corner, The Pin Junkie, Shabby Art Boutique, The Answer Is Chocolate, Chic On A Shoestring, Coastal Bohemian, Create With Joy, Imparting Grace, The Cottage Market, Pieced Pastimes, Our Hopeful Home, Finding Silver Pennies

Wednesday, April 1, 2020

Scared of Water

If you've followed along on my social media accounts you may have noticed some artwork posted. I  have dabbled in art work my whole life. As a kid I loved to draw and color. At one point my mother checked into getting lessons for me but we were a military family of five and there was little money; nothing left over for such frivolities. My art teachers in public school supplied me with the only formal education I would receive. I was blessed to be exposed to a lot of different mediums and some I gravitated toward more than others.

I took home economics (do public schools still have that) in junior high school. That introduced me to the world of sewing. I learned the basics; how to thread a machine, how to follow a pattern, and how to hem and hand stitch. It has served me well over the years. I used to sew outfits for each of my girls. Later I made things for my home like pillows, table runners, and curtains. I've made tote bags, aprons, and gifts for family and friends.

I also took photography in junior high school which taught me how to develop my own film. Nobody does that anymore as the digital camera has revolutionized the industry. I also learned some things about composition and exposure. I have forgotten everything I learned about f-stops and and exposure but at one time I possessed the knowledge.

And that was where the formal education train ended other than one small stint with ceramics in my early twenties. Nothing survived from those days and I think I should probably be grateful! Anyway, all that to say that recently I took my first adult painting class! It is in a medium that has intimidated me for a long time, so much so that I just wouldn't even try it. I was afraid of water. I managed to do some things to show the kids when we were homeschooling but nothing that I would ever show to anyone. You can't control water; it goes where it wants to like an excited puppy! When painting with other mediums you can paint over a mistake but not so with water colors. You have to think backwards-highlights and breaks in surfaces.... Ugh! Also, colors get "muddy" quickly.

So yeah, this was not for me... at least I didn't think so.

Last autumn we found a church. You may have read about our experience with our church in a previous post. It has been a looooong (2+ year) search but I think we have found a place we can serve and rest. And, I have met a new friend...

                                                         that teaches art classes!!!

and she had just begun a class on watercolors. I decided to step out of my comfort zone and give it a go. I am so glad I did!

This was my first attempt!


My second lesson.


The third lesson. Christmas tree ornaments made in class.


So this was after just four classes. No, not great or even good quality and I can definitely see my mistakes and areas I need to learn to do better at but my appetite has been whetted/wetted. (Ha!) I am hooked. Here are some more recent attempts:


1st attempt at a seahorse:


 A second attempt at the seahorse during Covid quarantine:


Because of the state of our world presently we are all finding ourselves spending much more time at home. I confess that I have a tendency to look at it like I'm stuck but am trying to shift my way of thinking to one of gratitude. I get to be home right now where I am warm, have food and comfort and so do many of you. Try something unfamiliar. Try something you've been intimidated by. You don't need to run to a craft store or order from Amazon. Look around your home. Write a poem. Grab your phone or camera and walk out to your yard. Document Spring in your area.

While my new teacher friend is not presently conducting classes I have found instructional videos on line and tutorials on Pinterest so I am going to continue with the watercolors and I am going to try a few other things, too. Turn off the television and find a way to use your creative mind to make something beautiful.

Who knows what is waiting out there (and inside here, too) that we didn't know we could do!

Blessings, 


*Because of a Blogspot problem I had to update this post with the photos again. Sorry if it is not exactly as the first post.


Tuesday, March 17, 2020

Schooling From Home

It has been months since I have posted to the blog. Life hasn't been particularly hectic, no devastating illnesses, no big changes... it has just been ordinary. In light of recent events in our world I am realizing just how ungrateful I was for "ordinary". 

I am a wait-and-see type of person. I think it plays nicely with my tendency to procrastinate. But sometimes life just doesn't give you either luxury. In recent days I have heard from parents who are finding themselves thrown into a position that I miss. They have to school their children at home. I cannot tell you how many times over the years that people told me "Oh, I could never do that", and yet here we are, sheltering in place, being "forced" to learn and teach in our homes. 

School districts all over the country are scrambling to get information and plans up online but in the meantime what can you do? This was my (edited) emailed answer to a friend:

First, let me say that I envy the next few weeks for all the mamas and daddys who get to have their kiddos home. You may feel like Alice in Wonderland falling down the rabbit hole. I know it sounds scary but really, it is a time to get to know your littles in a different way and to learn alongside them. 


If you have to come up with something for a short time, pick subjects that you know they will be interested in, like sharks or computers. You can specialize this right now because it is short-term but it is a taste of what homeschooling can be. 

Once you have your subject/subjects then go hunting on the internet. Pinterest is a good source or Google "free lessons plans for ___________". Search phrases like "free lessons on sharks" or "free printables for sharks". 

As an example you can teach vocabulary words related to sharks. Learn their classification in the animal world, binomial nomenclature and different types of sharks. You can study geography and oceans; which oceans you will find sharks in at what times of the year.  Discover where they like to dine and what they eat.  Discuss the science behind why they migrate and what happens when their food source is scare/abundant. Cape Cod is an excellent example of that. 

Find a story like The Shark Lady, which is only 23 minutes long (https://www.amazon.com/Shark-Lady-Eugenie-Fearless-Scientist/dp/B076BWCY4J), to listen to together online. For longer books, listen for a specified period of time everyday, maybe after lunch then discuss, allowing them to tell the story back to you. After discussing, have them write a brief review of the book, documenting the author, title, date they listened to it. There are printables on line they can fill out. Free book report printables:  https://www.pinterest.com/pin/813040538967088748/ .

Build a lapbook or scrapbook using printables with information about what they are learning about sharks. Here are some I found on pinterest: https://www.naturalbeachliving.com/shark-information-for-kids/ or https://www.simpleeverydaymom.com/free-printable-shark-worksheets/  The scrapbook will be a reminder of the time they got to spend at home, learning beside you. 

Check web pages like the New England Aquarium. If you click on their "learn" tab for "families and teens" you can find more resources with ideas and things to do or study out. You're not limited to just the aquarium in our own backyard but you have access to the best aquariums in the world at your fingertips, in the comfort of your home.

I Googled "dissection of great white shark" and found a PBS episode: https://www.pbs.org/video/inside-natures-giants-great-white-shark/

Intersperse their math skills. As soon as a multiplication time test is done they can watch the video (as an example) or listen to an audiobook on the subject. 

If computers are of interest your child do the same thing. Maybe teach them to simple coding. Search Pinterest for free computer coding lessons like here: https://teachyourkidscode.com/free-binary-numbers-worksheet-for-the-holidays or https://www.pinterest.com/pin/566116615658686837/. Learn the history of the computers, why they were first used, who developed them. How did companies like IBM play a role. What was Prodigy? Learn vocabulary related to computers. Write small sentences in binary code. The possibilities are endless. 

When my kids were young I learned that sometimes their brains just had a hard time focusing. They have to get the wiggles out! A friend taught me, by example with her children, to send those kids outside to run around the house 10 times. Make it a race, everyone gets some fresh air, it expends energy and connects them to something other than your four walls. 


Don't worry, parents. You can do this. Who knows your children better than you? You are being given an incredible gift. Start your mornings curled up on the couch together. Pray, read some Scripture and let them know that you are not worried, God is still on his throne. Let them hear you thank God for this time as a blessing not an inconvenience. Homeschoolers who do this as a way of life and those of us who were retired from homeschooling by the fruition of our work are praying for you. 

Blessings,