
My Mr. has been working very hard to get things done in the kitchen so I decided to tackle the bathroom shelving myself. I found some inspiration on Pinterest and got busy!
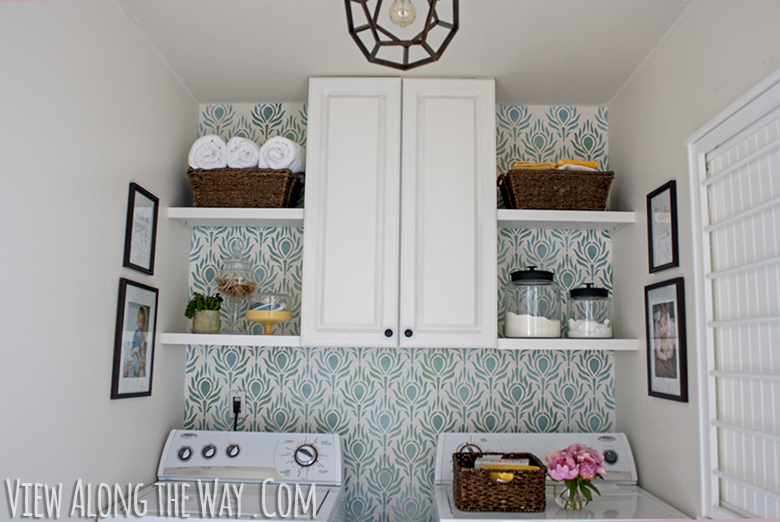 |
| My inspiration from http://www.viewalongtheway.com/2013/01/laundry-room-reveal/ |

I measured and used a level to draw my lines right on the wall. I cut the molding to sit on the pencil line along the outside wall and the back wall, mitering the corners and assuring myself that caulking will fill in any spaces I could see.
 |
| Caulking already applied! |
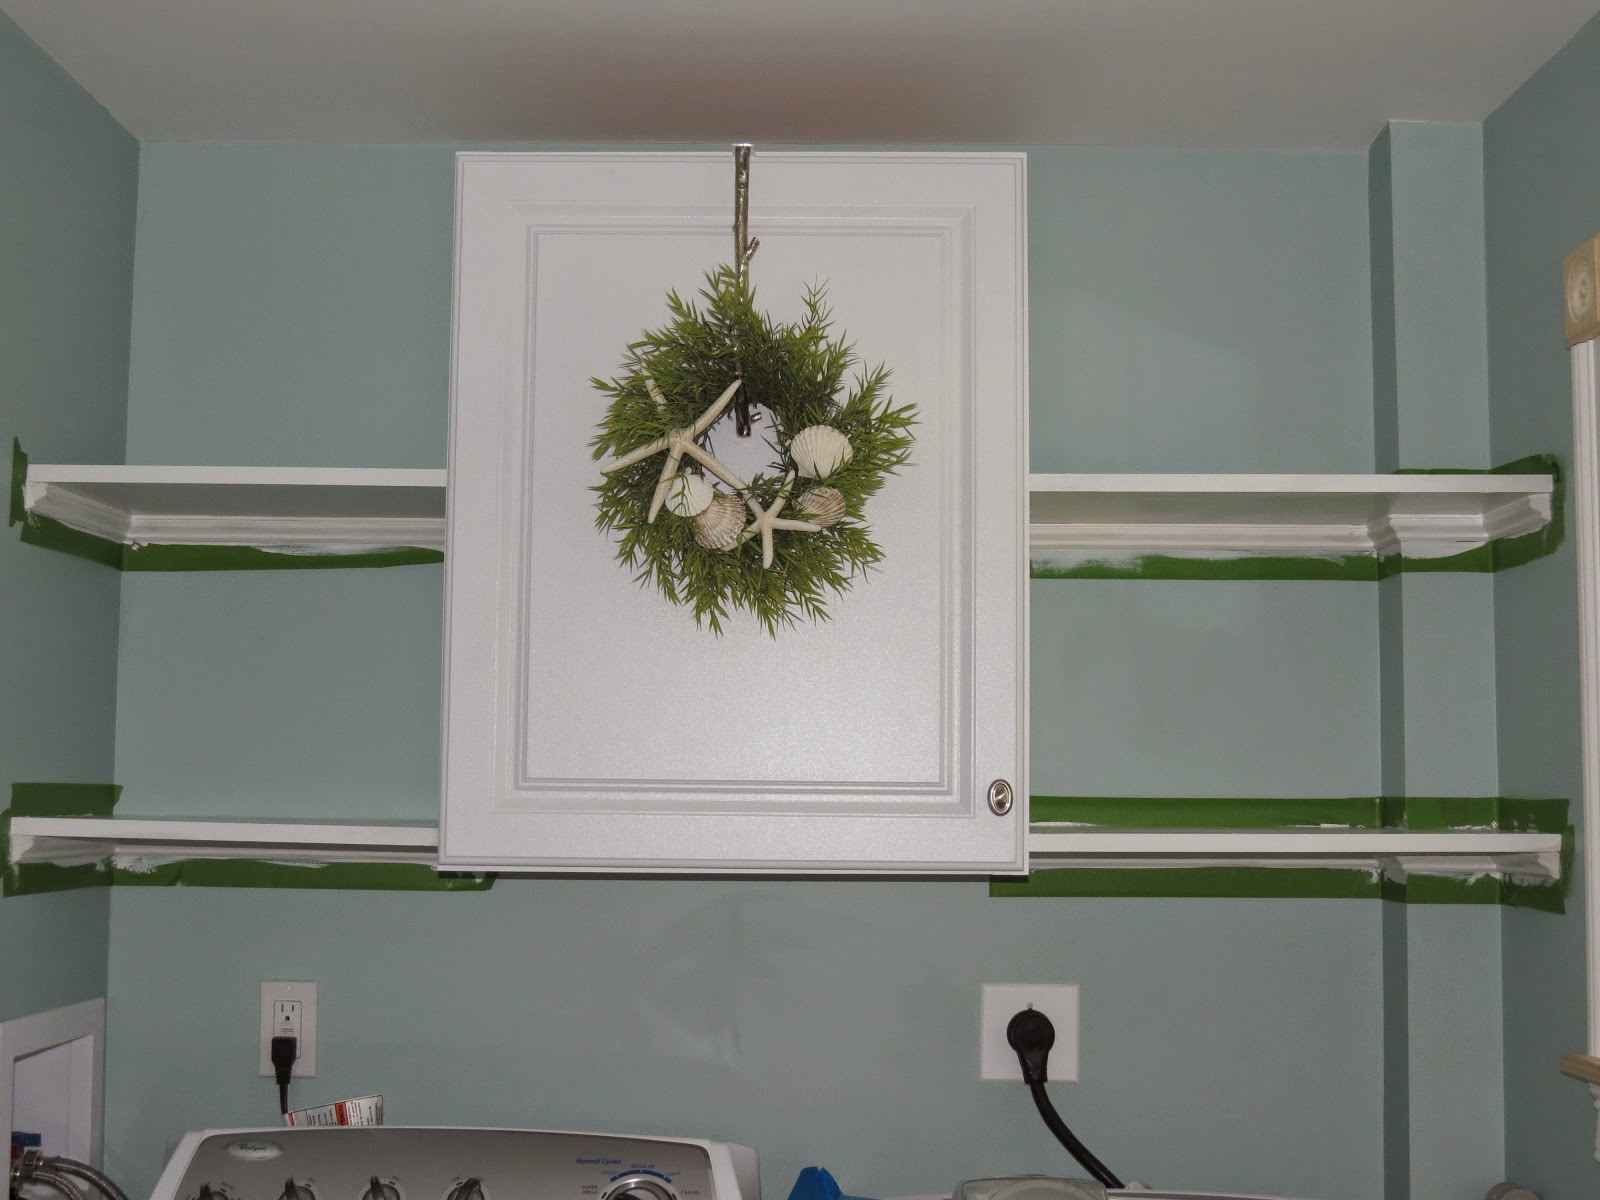
Mr. FixIt had cut the shelves for me a few days before so all I had to do was drop them in. The shelves were not stable yet. I checked for level again and drilled through the cabinet into the side of the shelves making sure to counter sink the head so that it does not stick out in the cabinet to catch on things (mainly, my hand as it scrapes by). After they were secured to the cabinet I drilled into the top in the back corner of each shelf at an angle catching the molding and the corner studs. I put in the screw making sure to counter sink the head, again.
Have I mentioned I am not the most patient person when it comes to diy-ing? It applies to painting, too. I tend to rush too much and make a mess. I can never stay "in the lines" I can never manage to keep my hand from waivering onto plains that I did not want painted so I tape. I used Frog Tape (I was not paid to say that.) I learned that I am also an impatient taper! Where I took my time and taped carefully it worked well. Where I missed a bit Mr. FixIt will touch up when he does the final coat on the walls.
 |
| Messy, messy, messy! |
 |
| At this point I realized how bad my caulking and filling job was. |
After everything had a decent amount of time to dry (24 hours-don't judge) I dressed the shelves. I know, I still have crown molding to do and still have to paint the trim. The walls need another coat and on and on it can go but I needed a boost to spur me on and so I decorated.

 |
| Looking back at the inspiration photo I think I need to add some warmth-maybe some baskets up top or a wooden box... |
So, my bathroom is in good working order. There are a few more things that need attention but for now I am quite happy with my shelves. Mr. just nodded when I showed him. I don't think he is worried about me taking over any time soon.
You need an accent wall, like the Pinterest photo.
ReplyDeleteSuch a Lovely Post, Very Beautiful. Thanks For Sharing.
ReplyDeletewhite floating shelves